Creating and Managing API Clients
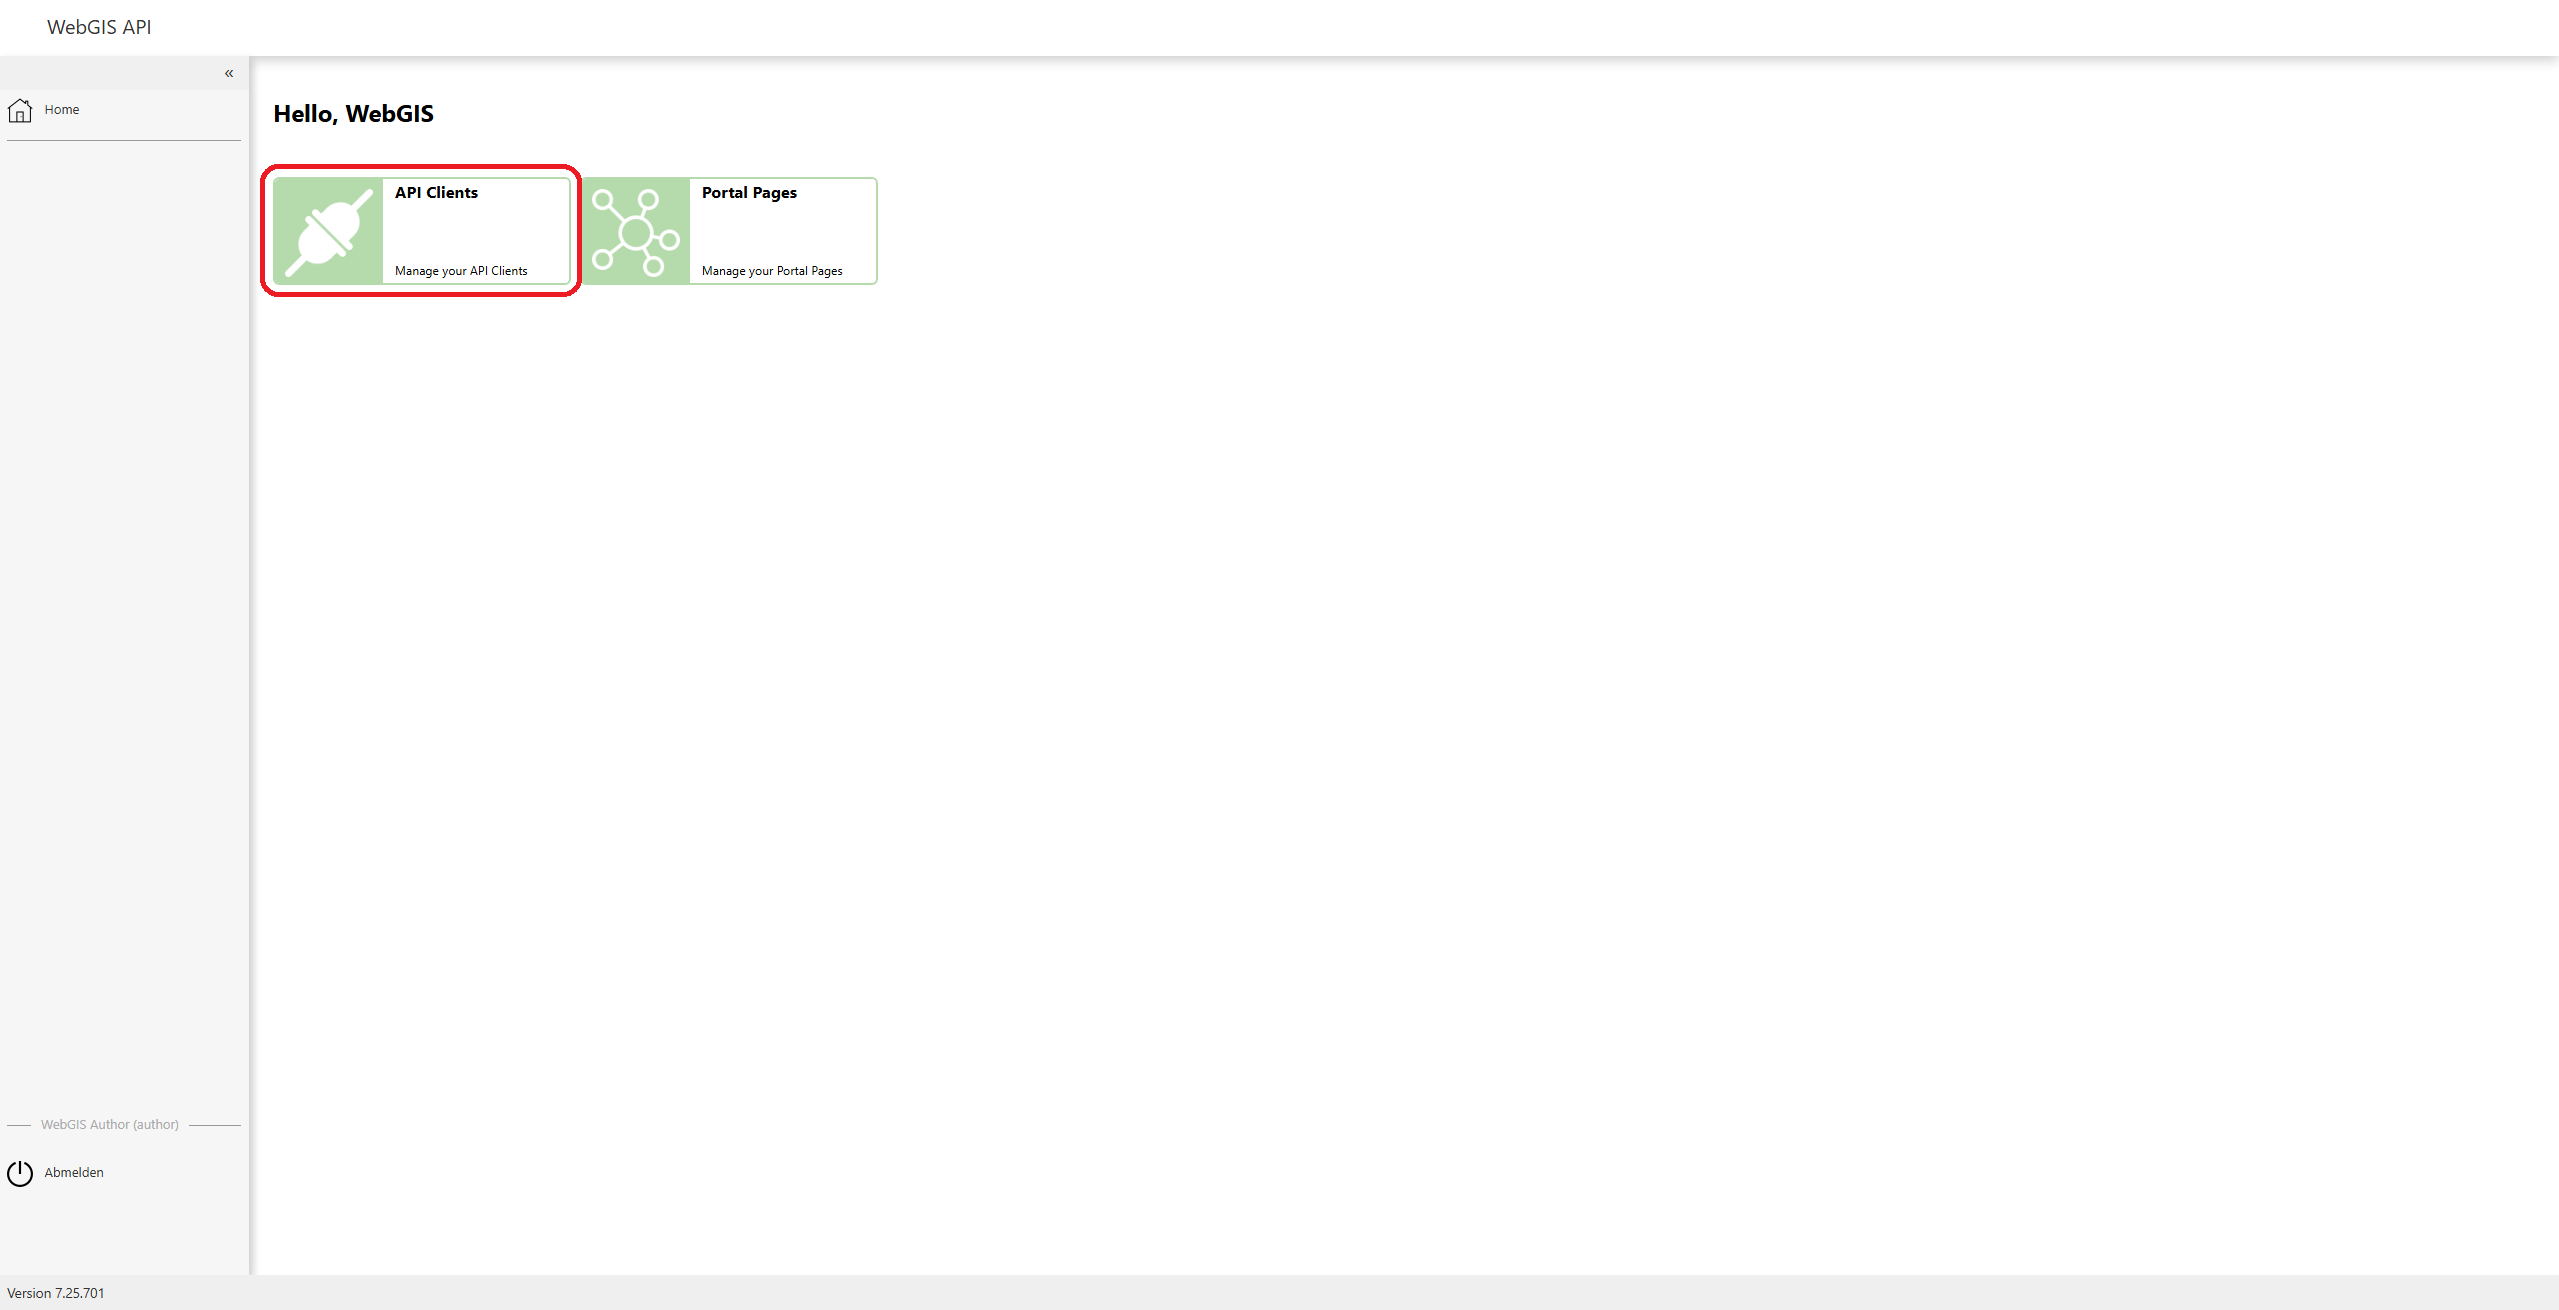
To manage API clients or create new ones, you must first log in to the WebGIS API. After logging in, you can access an overview of the already created clients via the API Clients menu item.
API Clients Overview
Click the API Clients menu item to go to the overview of the already created clients.
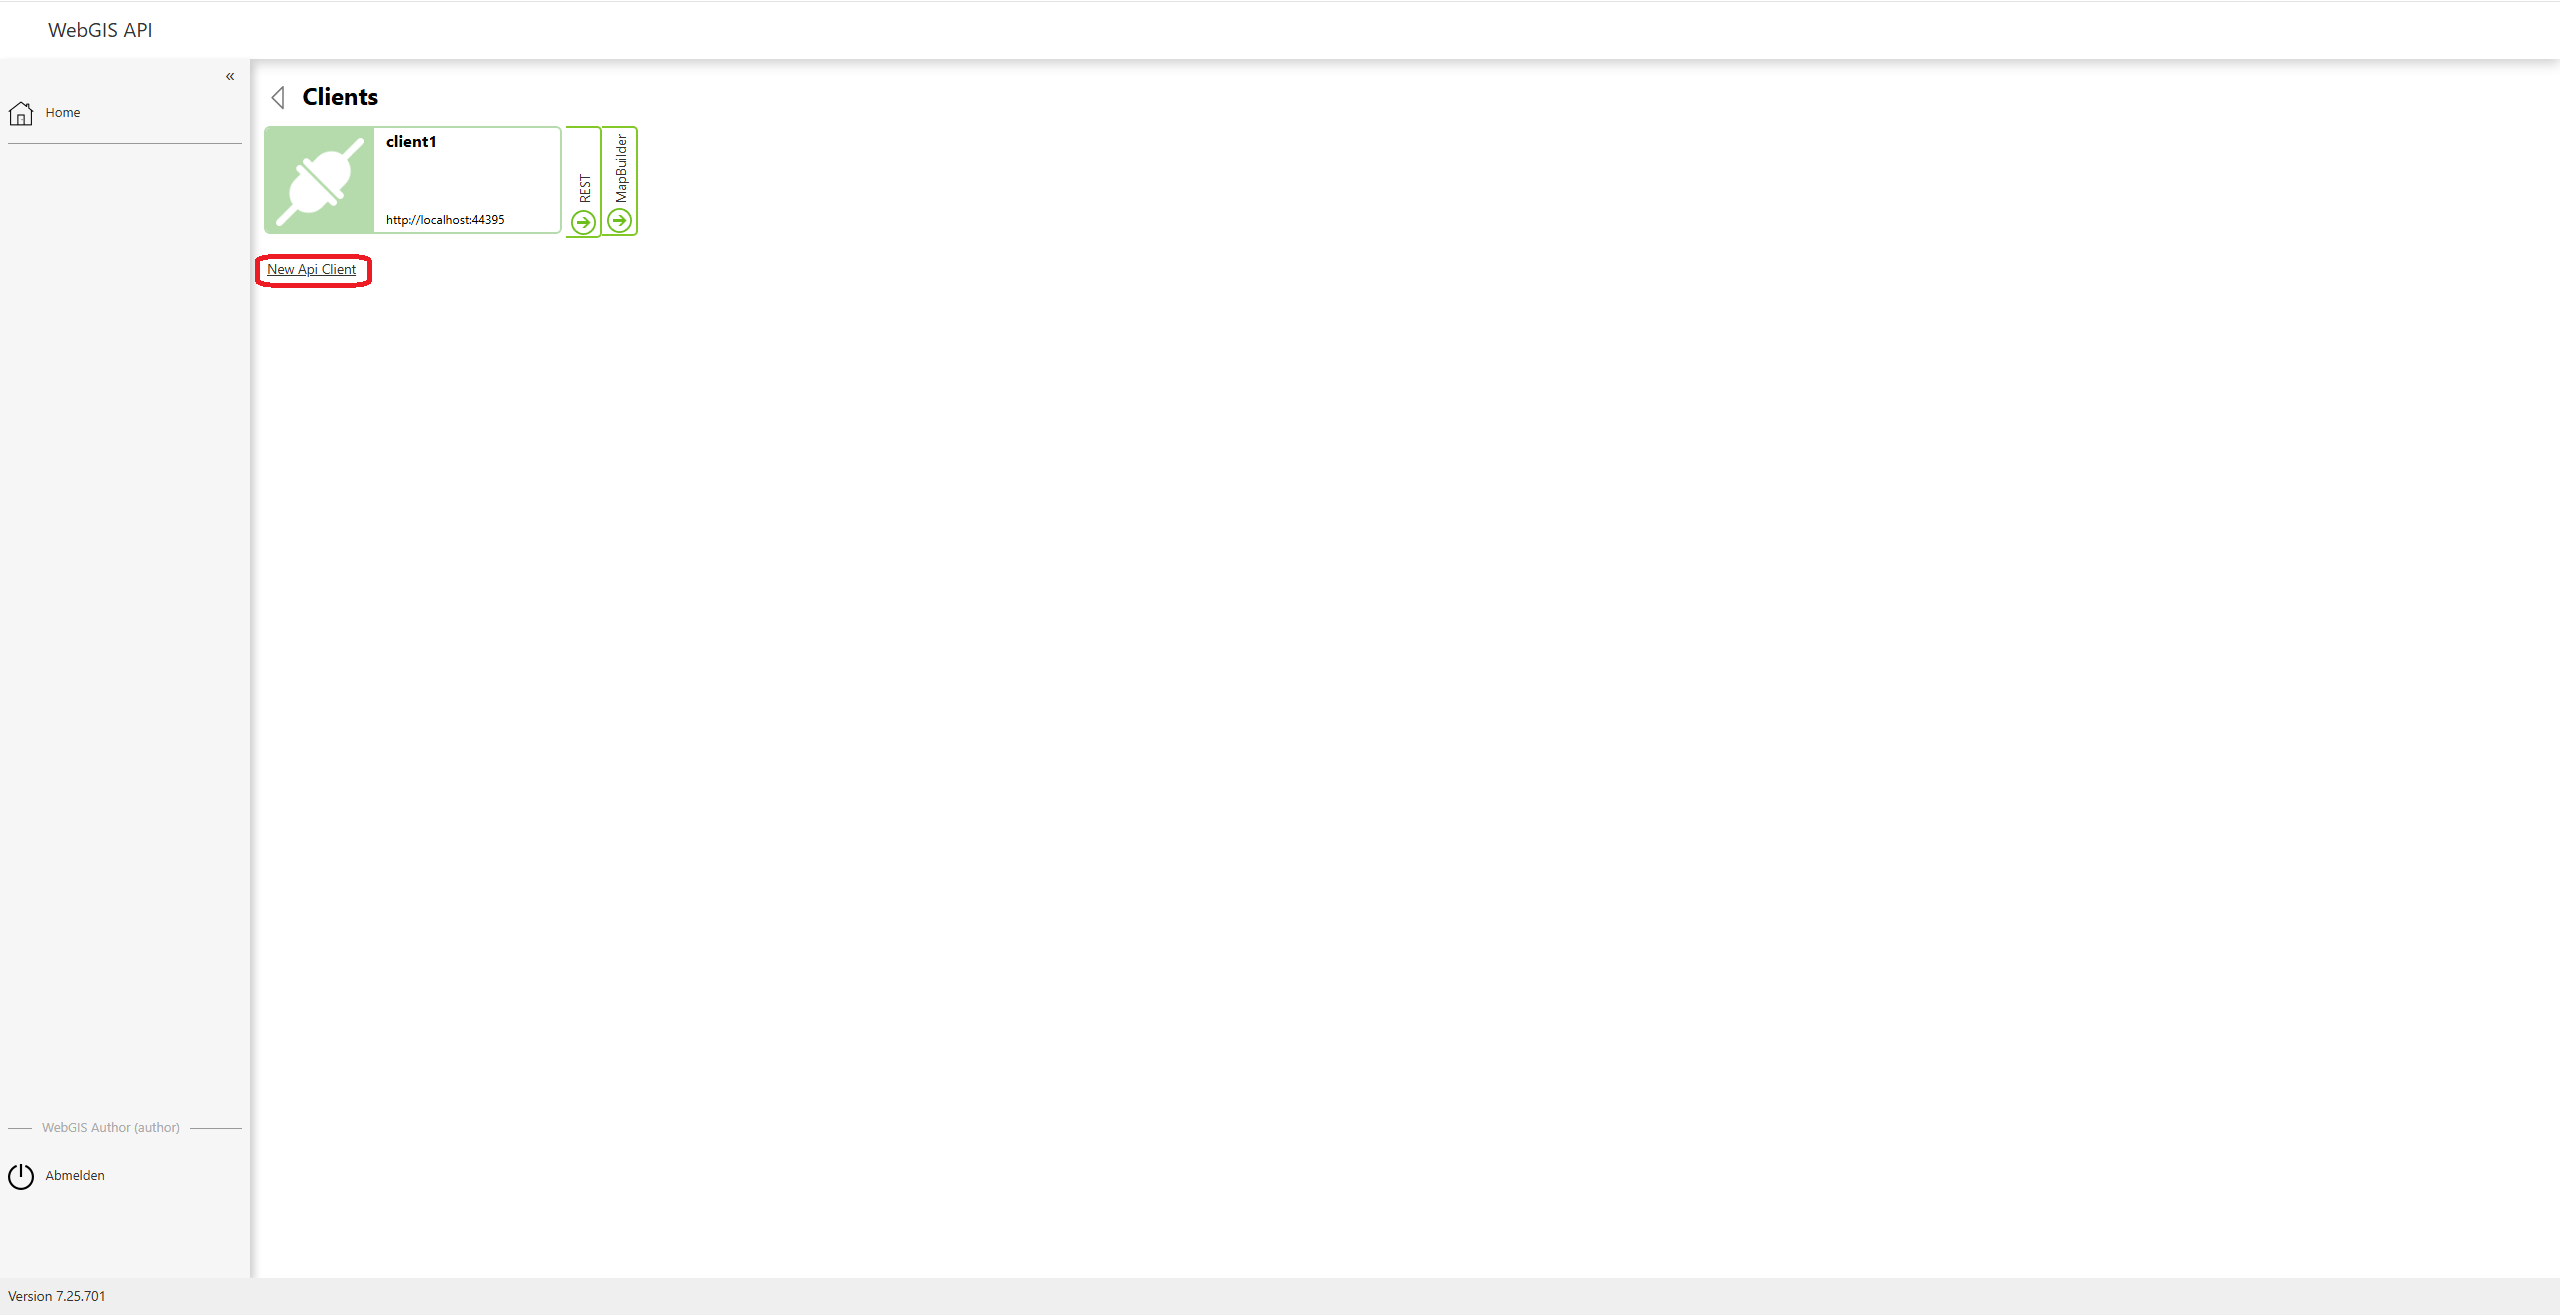
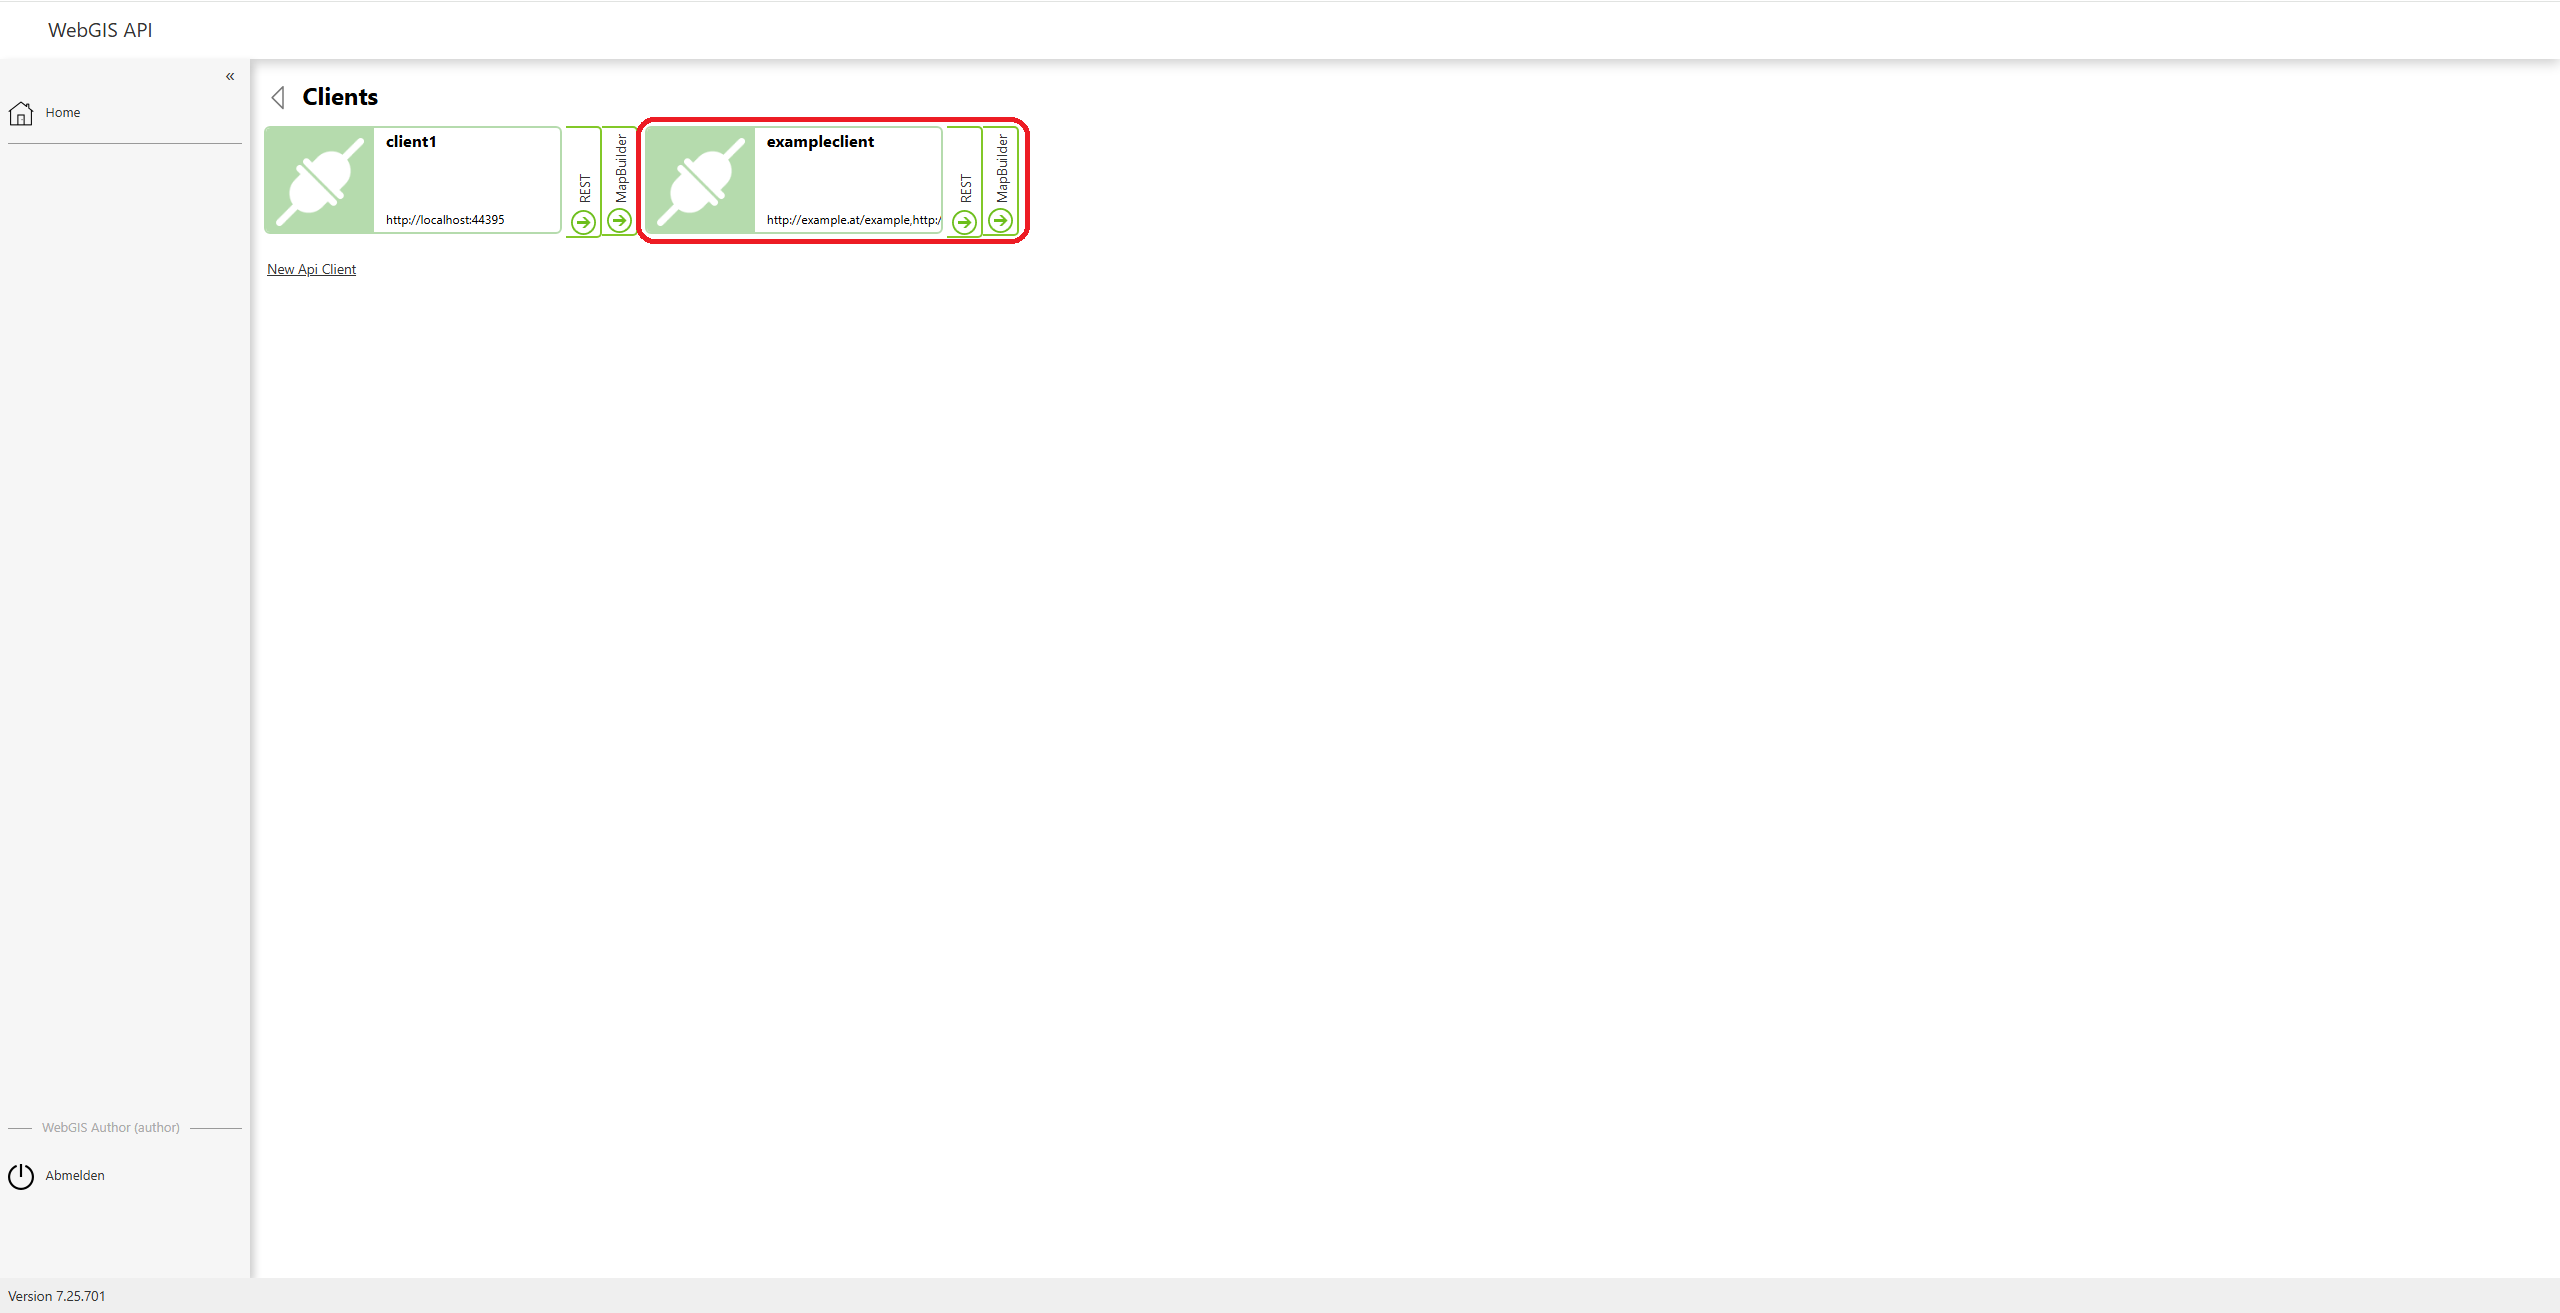
In the overview, you see a list of all existing API clients. If you want to edit a specific client, you can simply click on the desired client.
Creating a New API Client
To create a new API client, click the “New API Client” button.
Entering General Information
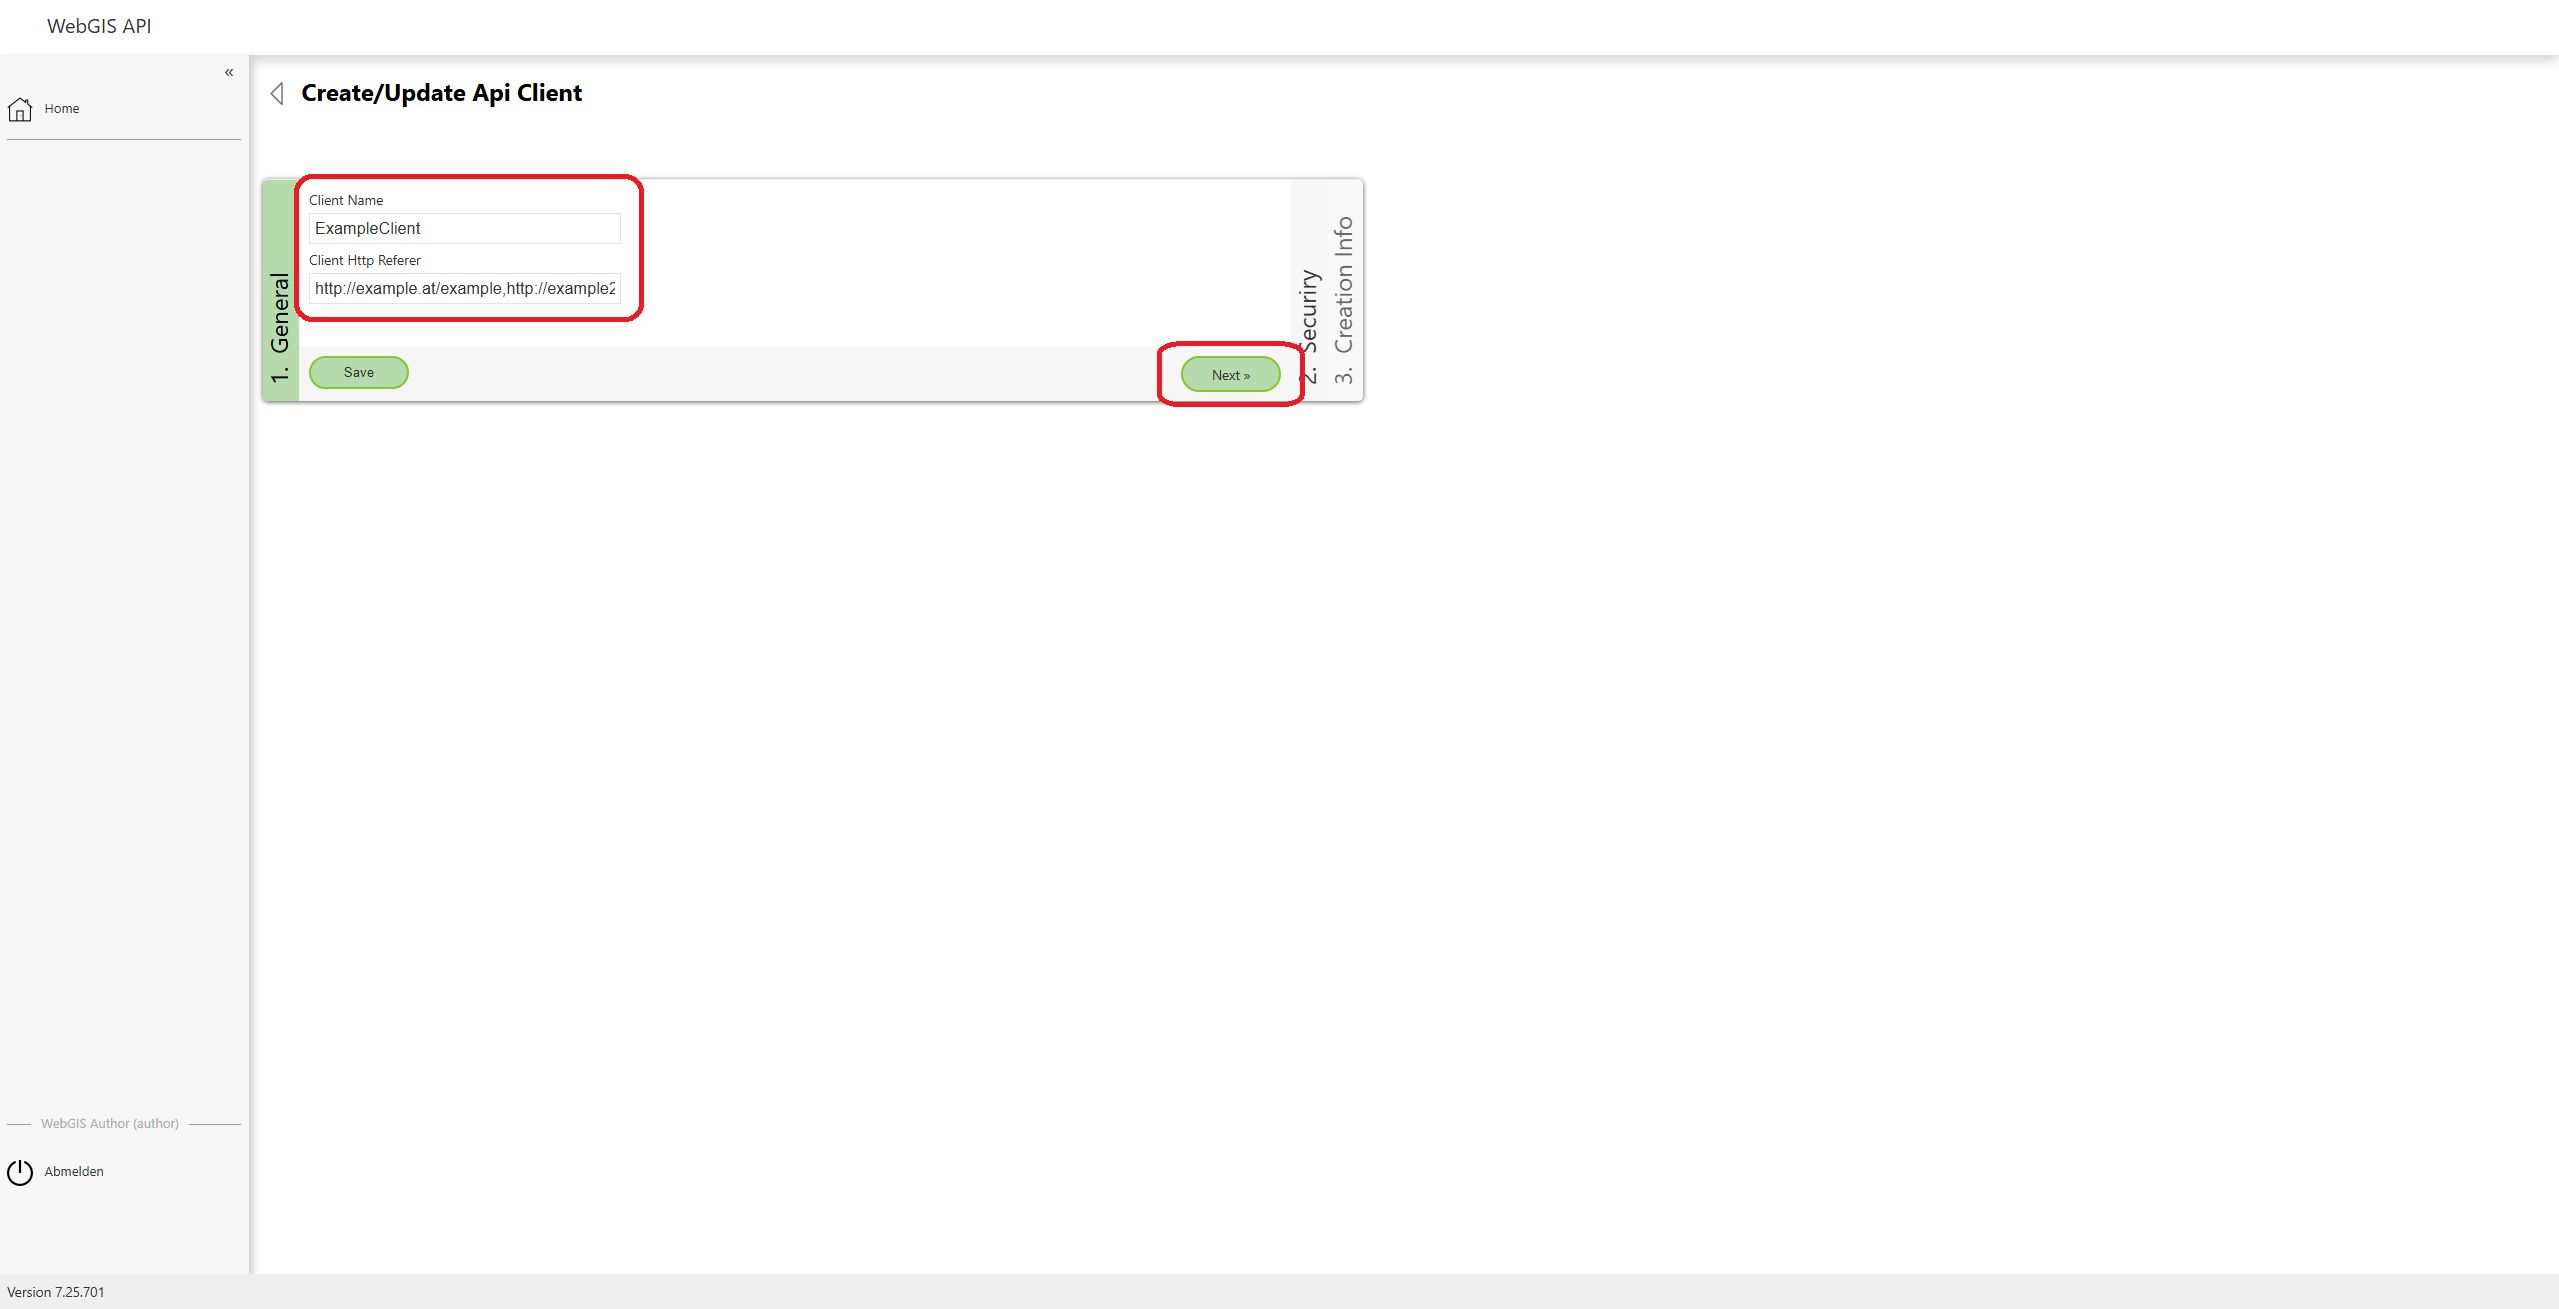
After clicking New API Client, a form appears in which you must name the new client. In the Client Name field, enter a descriptive name for the API client, and in the HTTP Referer field, add the corresponding HTTP referer link.
Click the “Next” button to proceed to the Security information.
Security Information
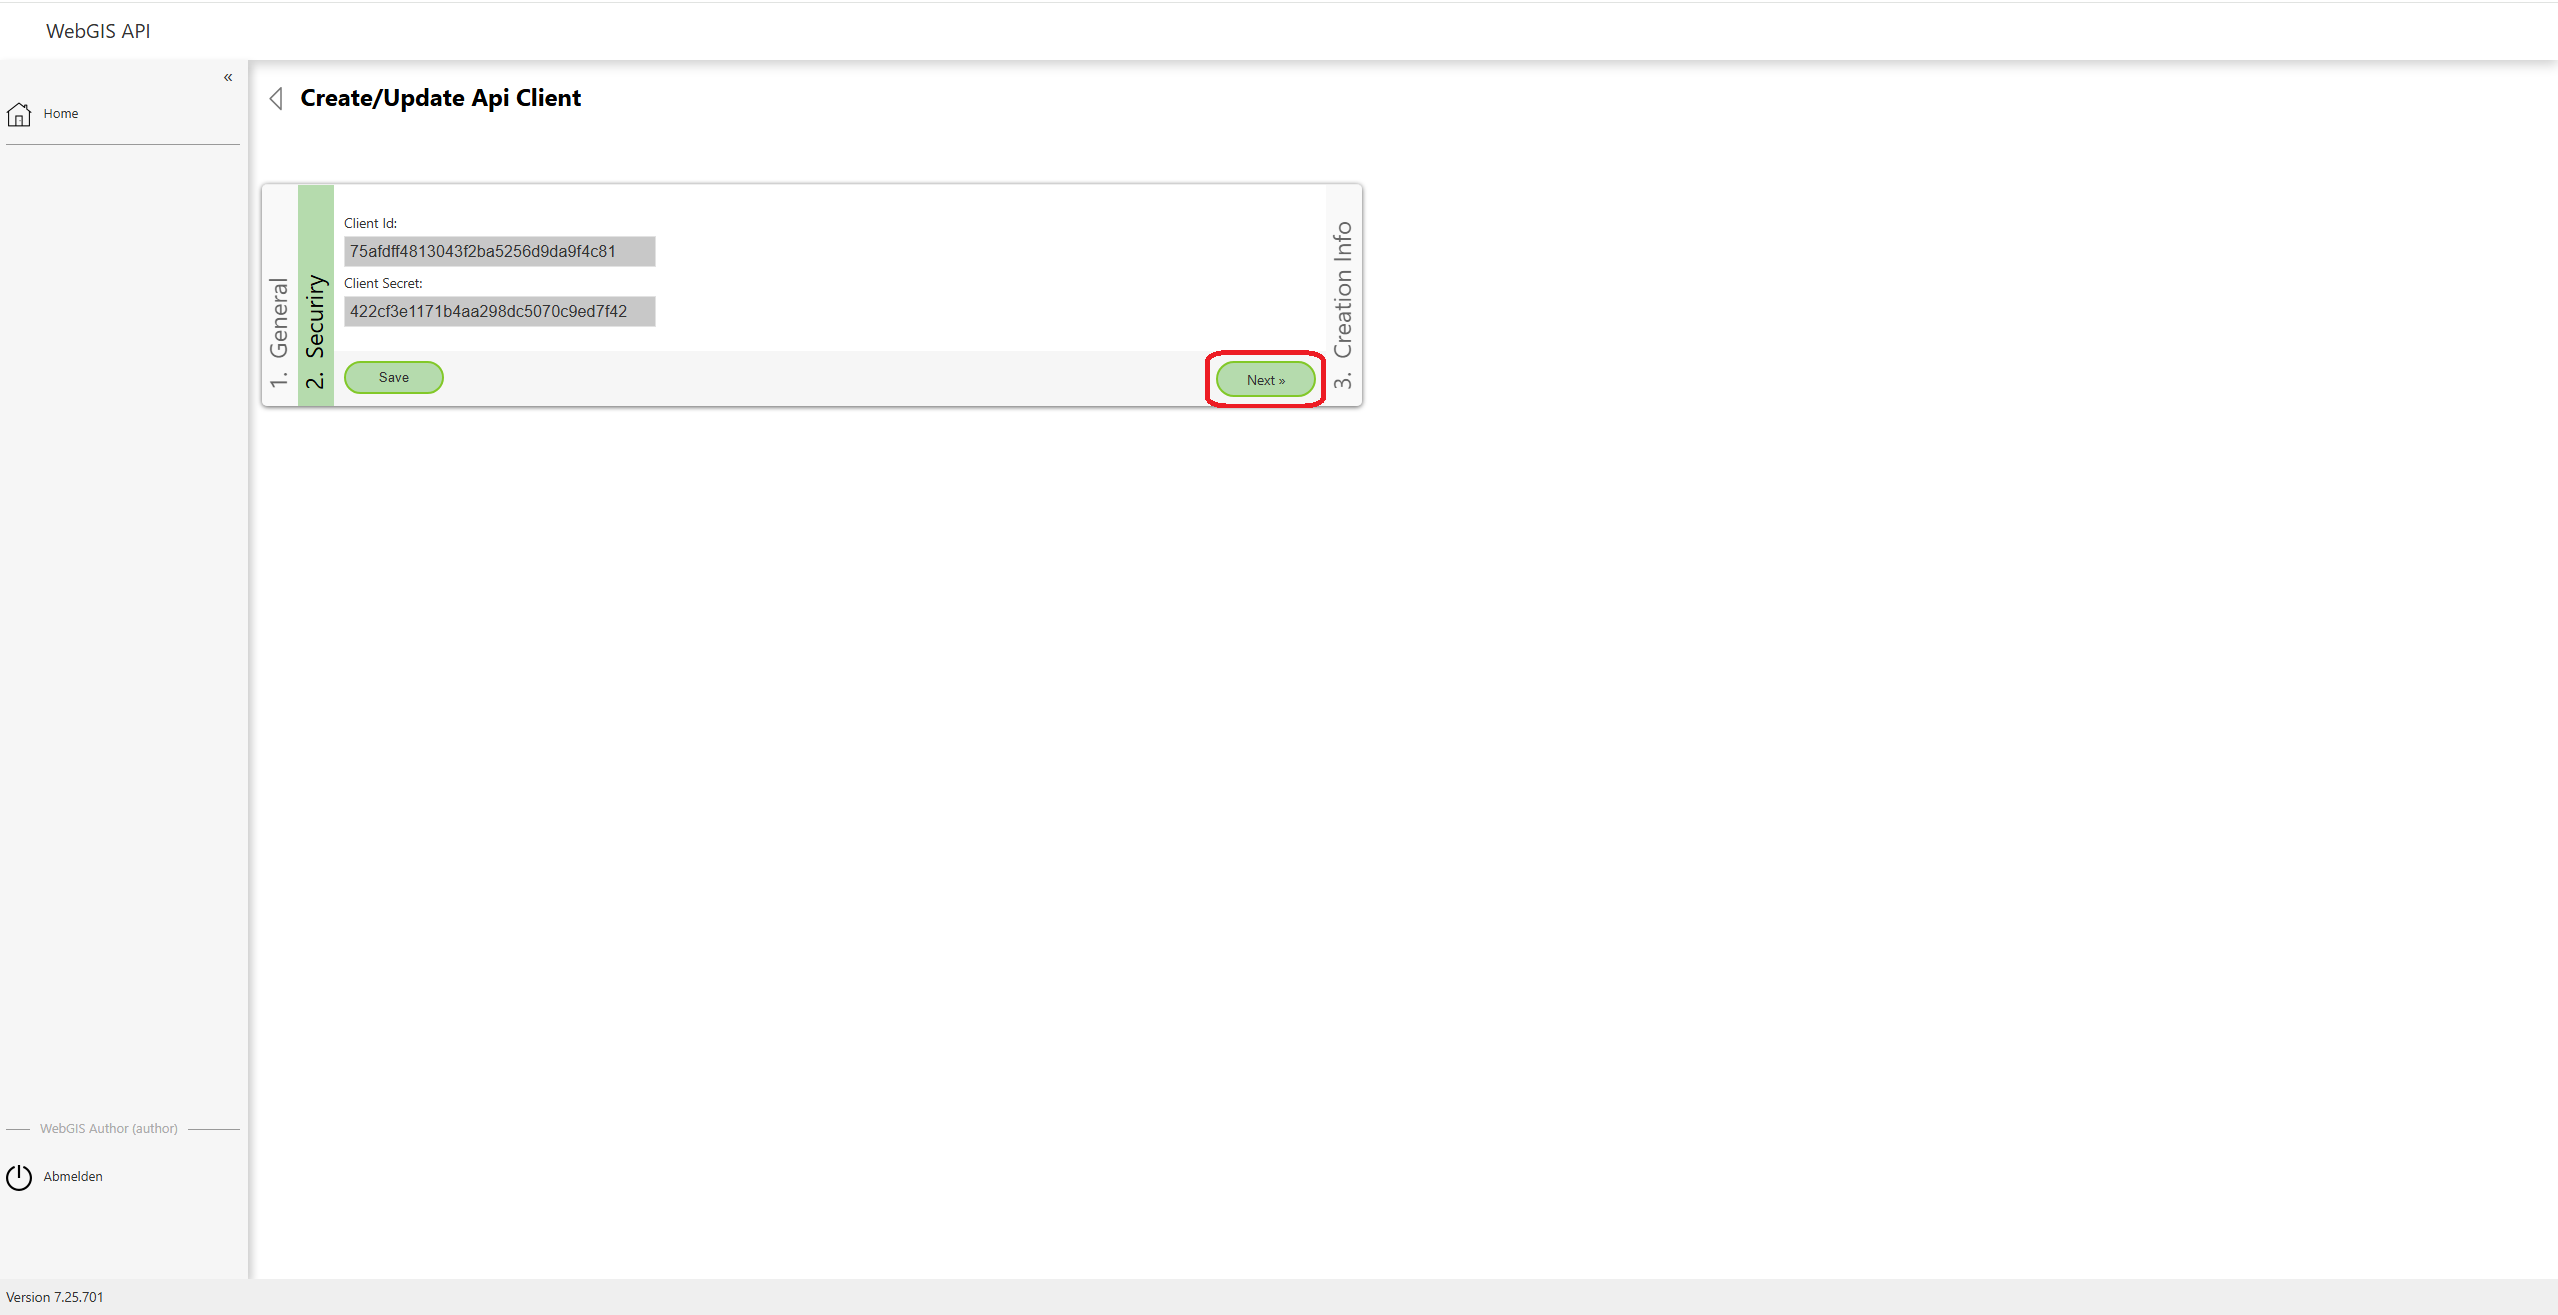
Under the Security section, information such as the ClientID and the Client Secret is shown. This information is important because it is used to authenticate the API client.
Click Next to go to the Creation Infos.
Creation Information
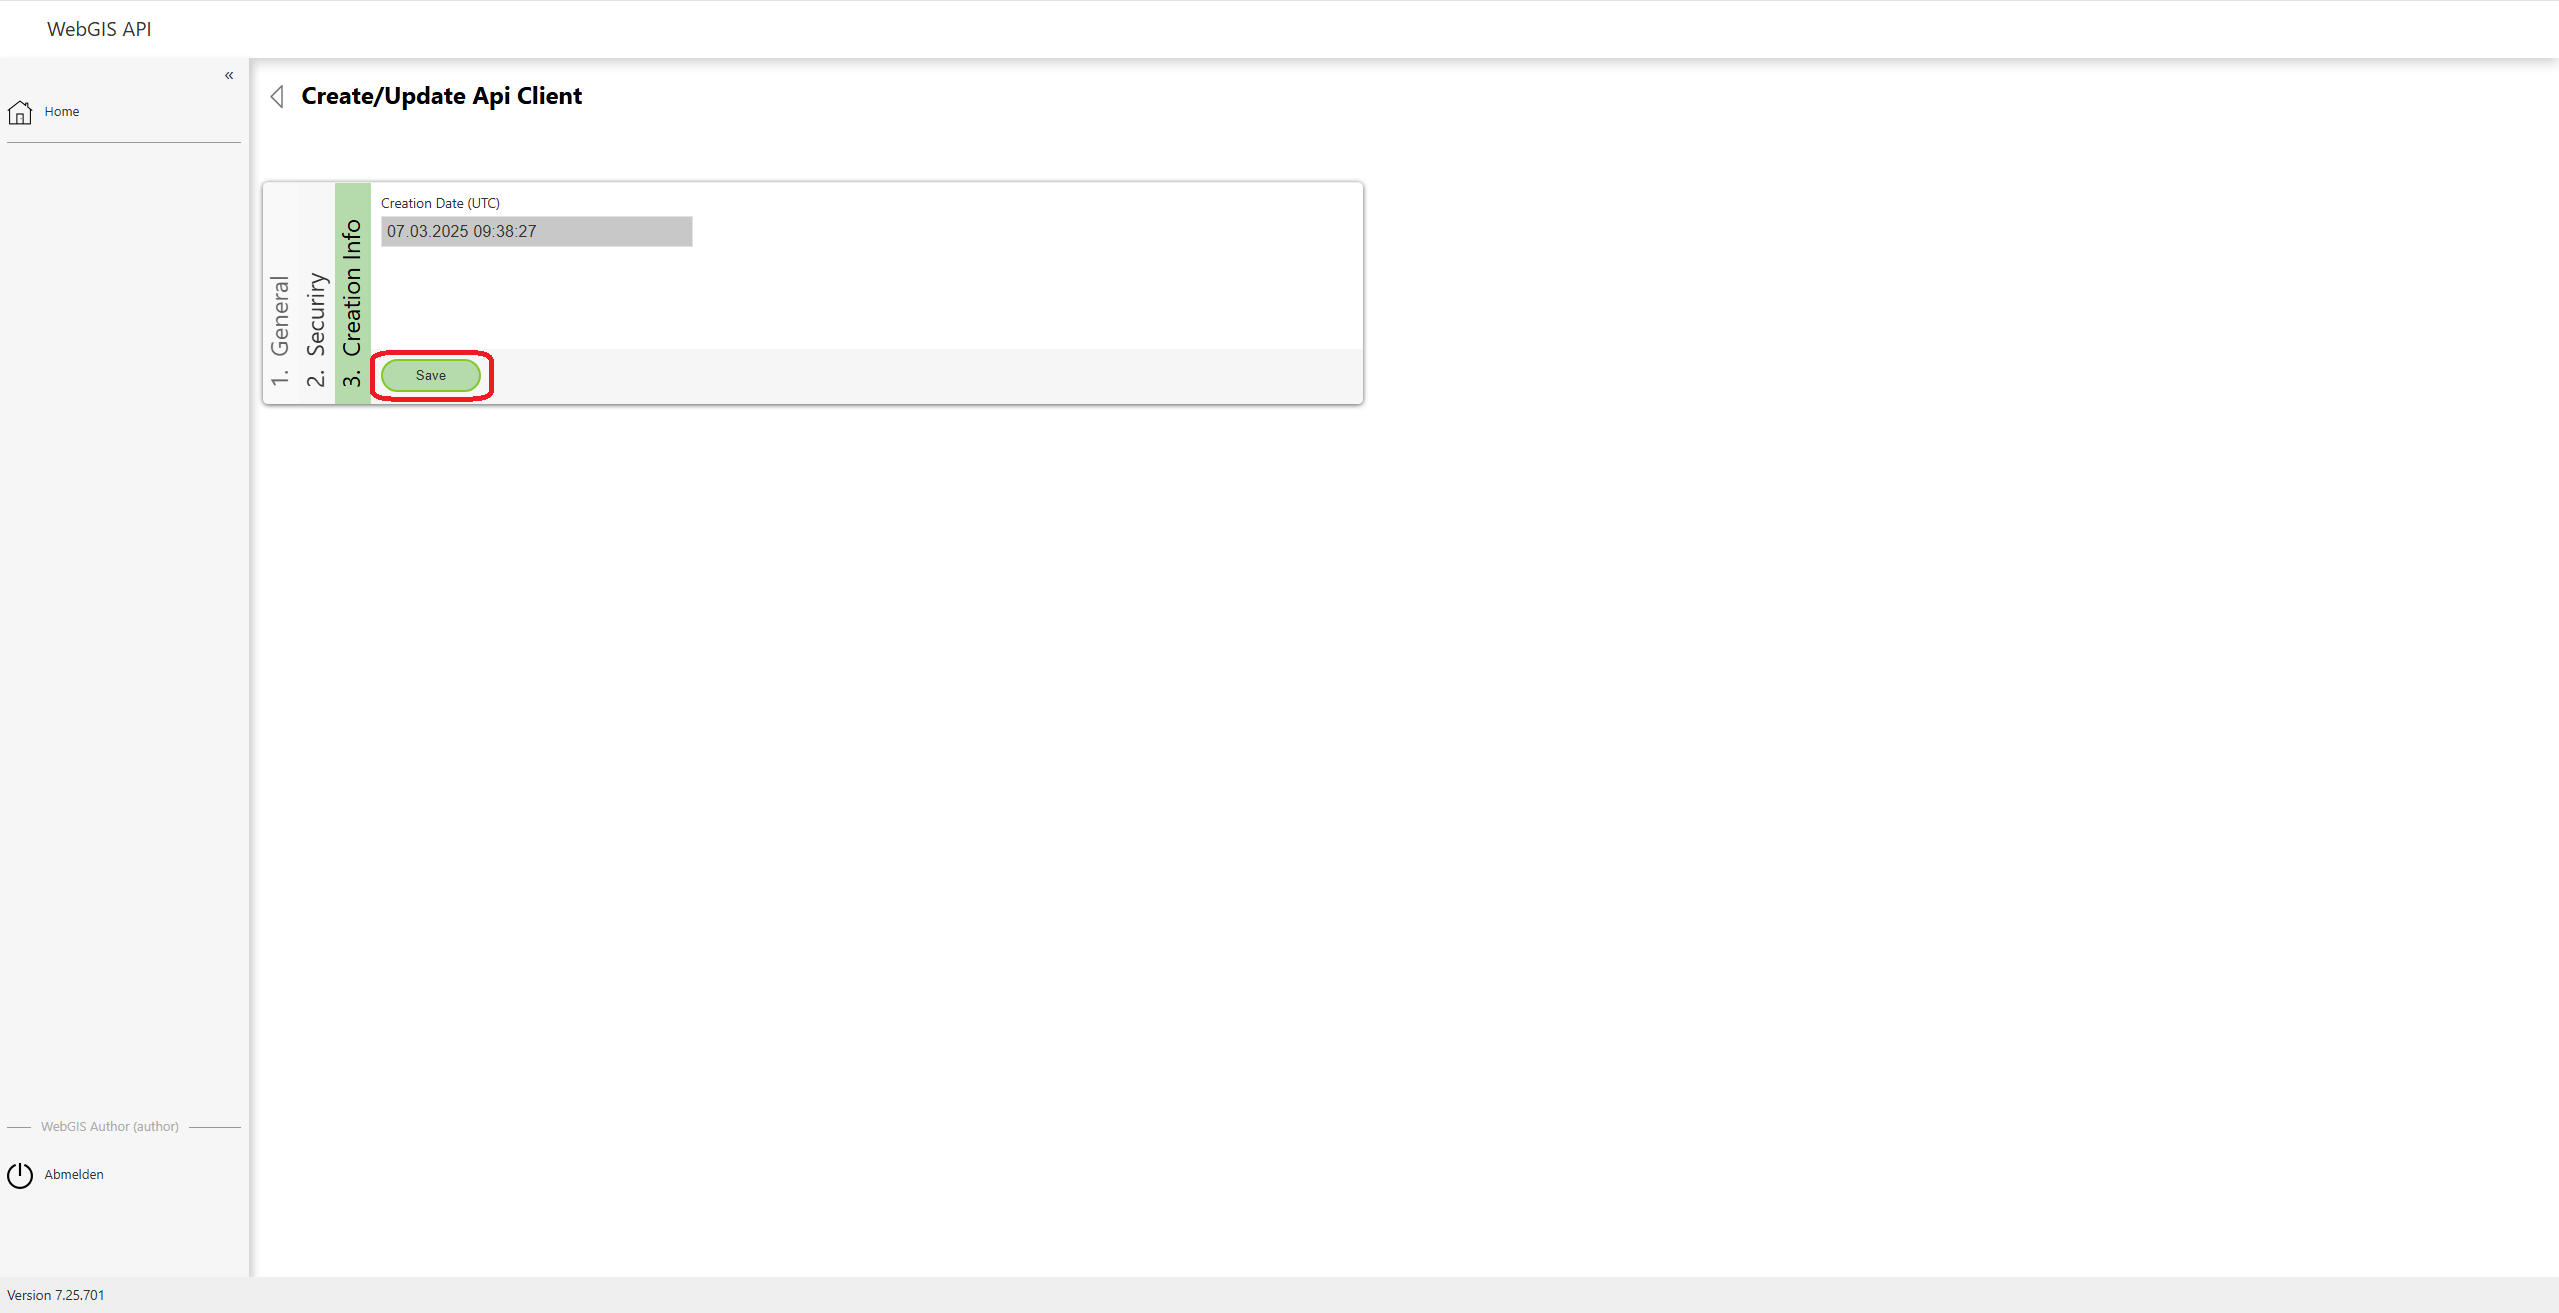
In the Creation Infos section, you can see the exact date and time the API client was created. This information is for display only and cannot be changed.
Clicking the “Save” button creates the API client and completes the creation process.
Editing an API Client
If you want to edit an existing API client, for example to change the Client Name or the HTTP Referer, simply click on the desired client in the overview.
You can change or supplement the fields as needed. Once you have made your changes, click “Save” again to apply the changes.