Creating and Managing Portal Pages
To create or manage a portal page, you must first log in to the WebGIS API. Once you are logged in, you can access an overview of the already created pages via the Portal Pages menu item, as well as create and configure new pages.
Portal Pages Overview
Click the Portal Pages menu item to go to the overview of the existing portal pages.
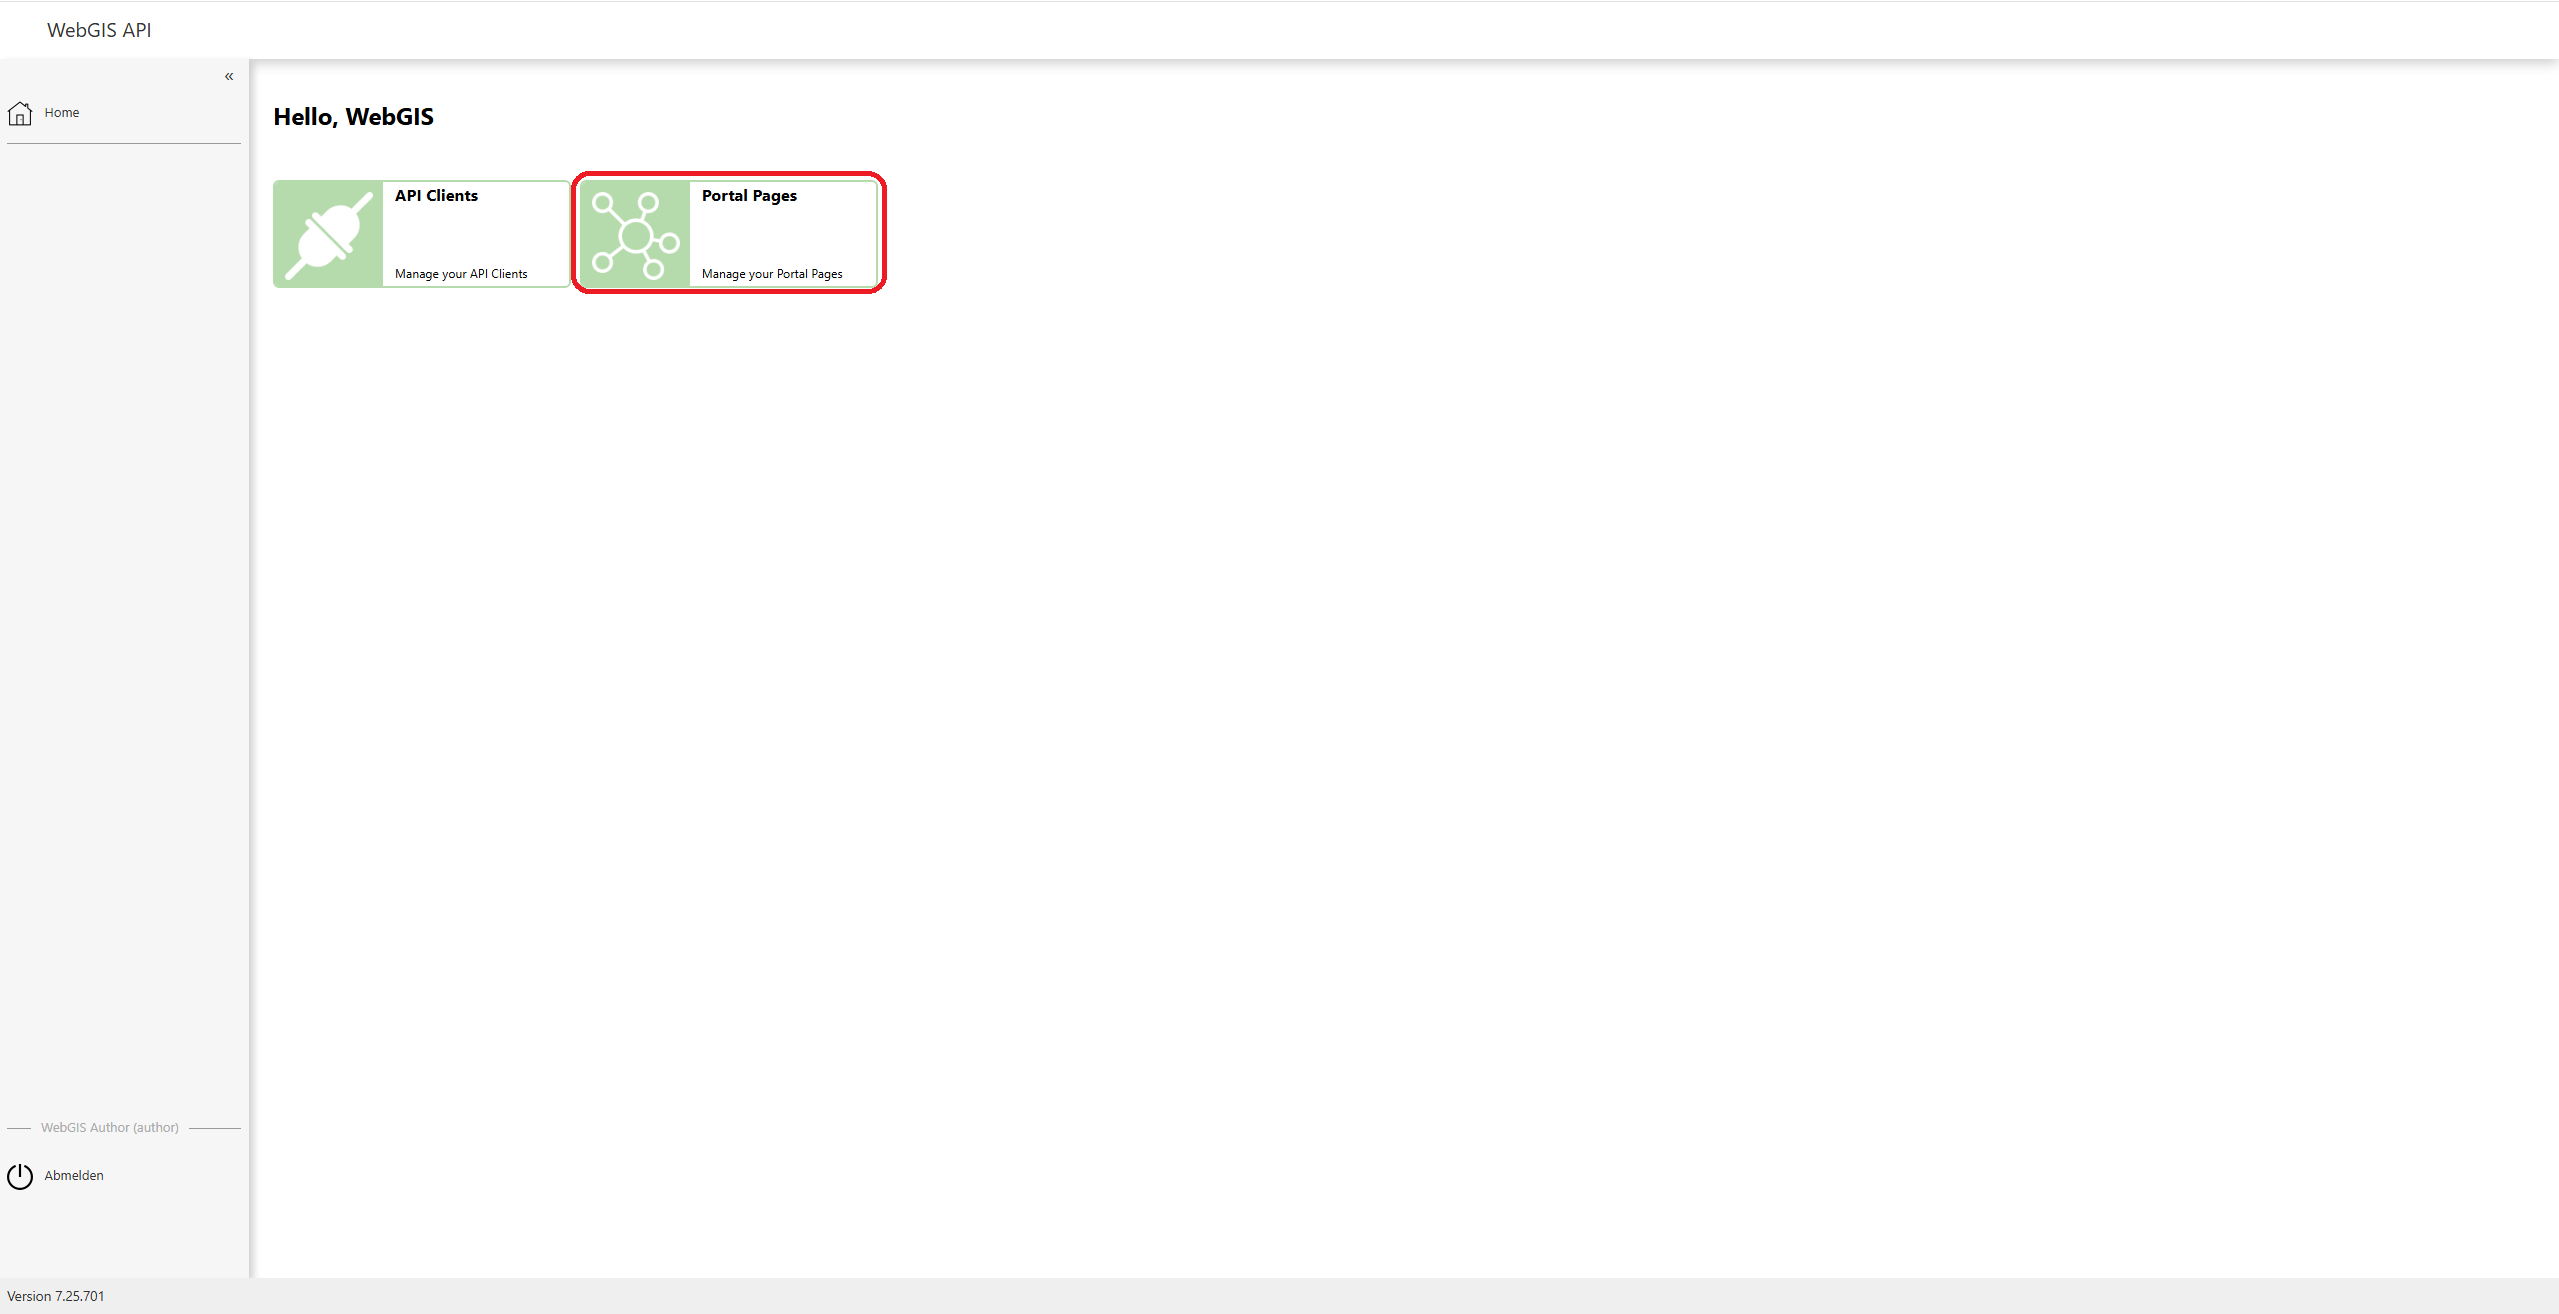
In the overview, you can view the pages already created. To create a new portal page, click the “New Portal Page” button.
Creating a New Portal Page
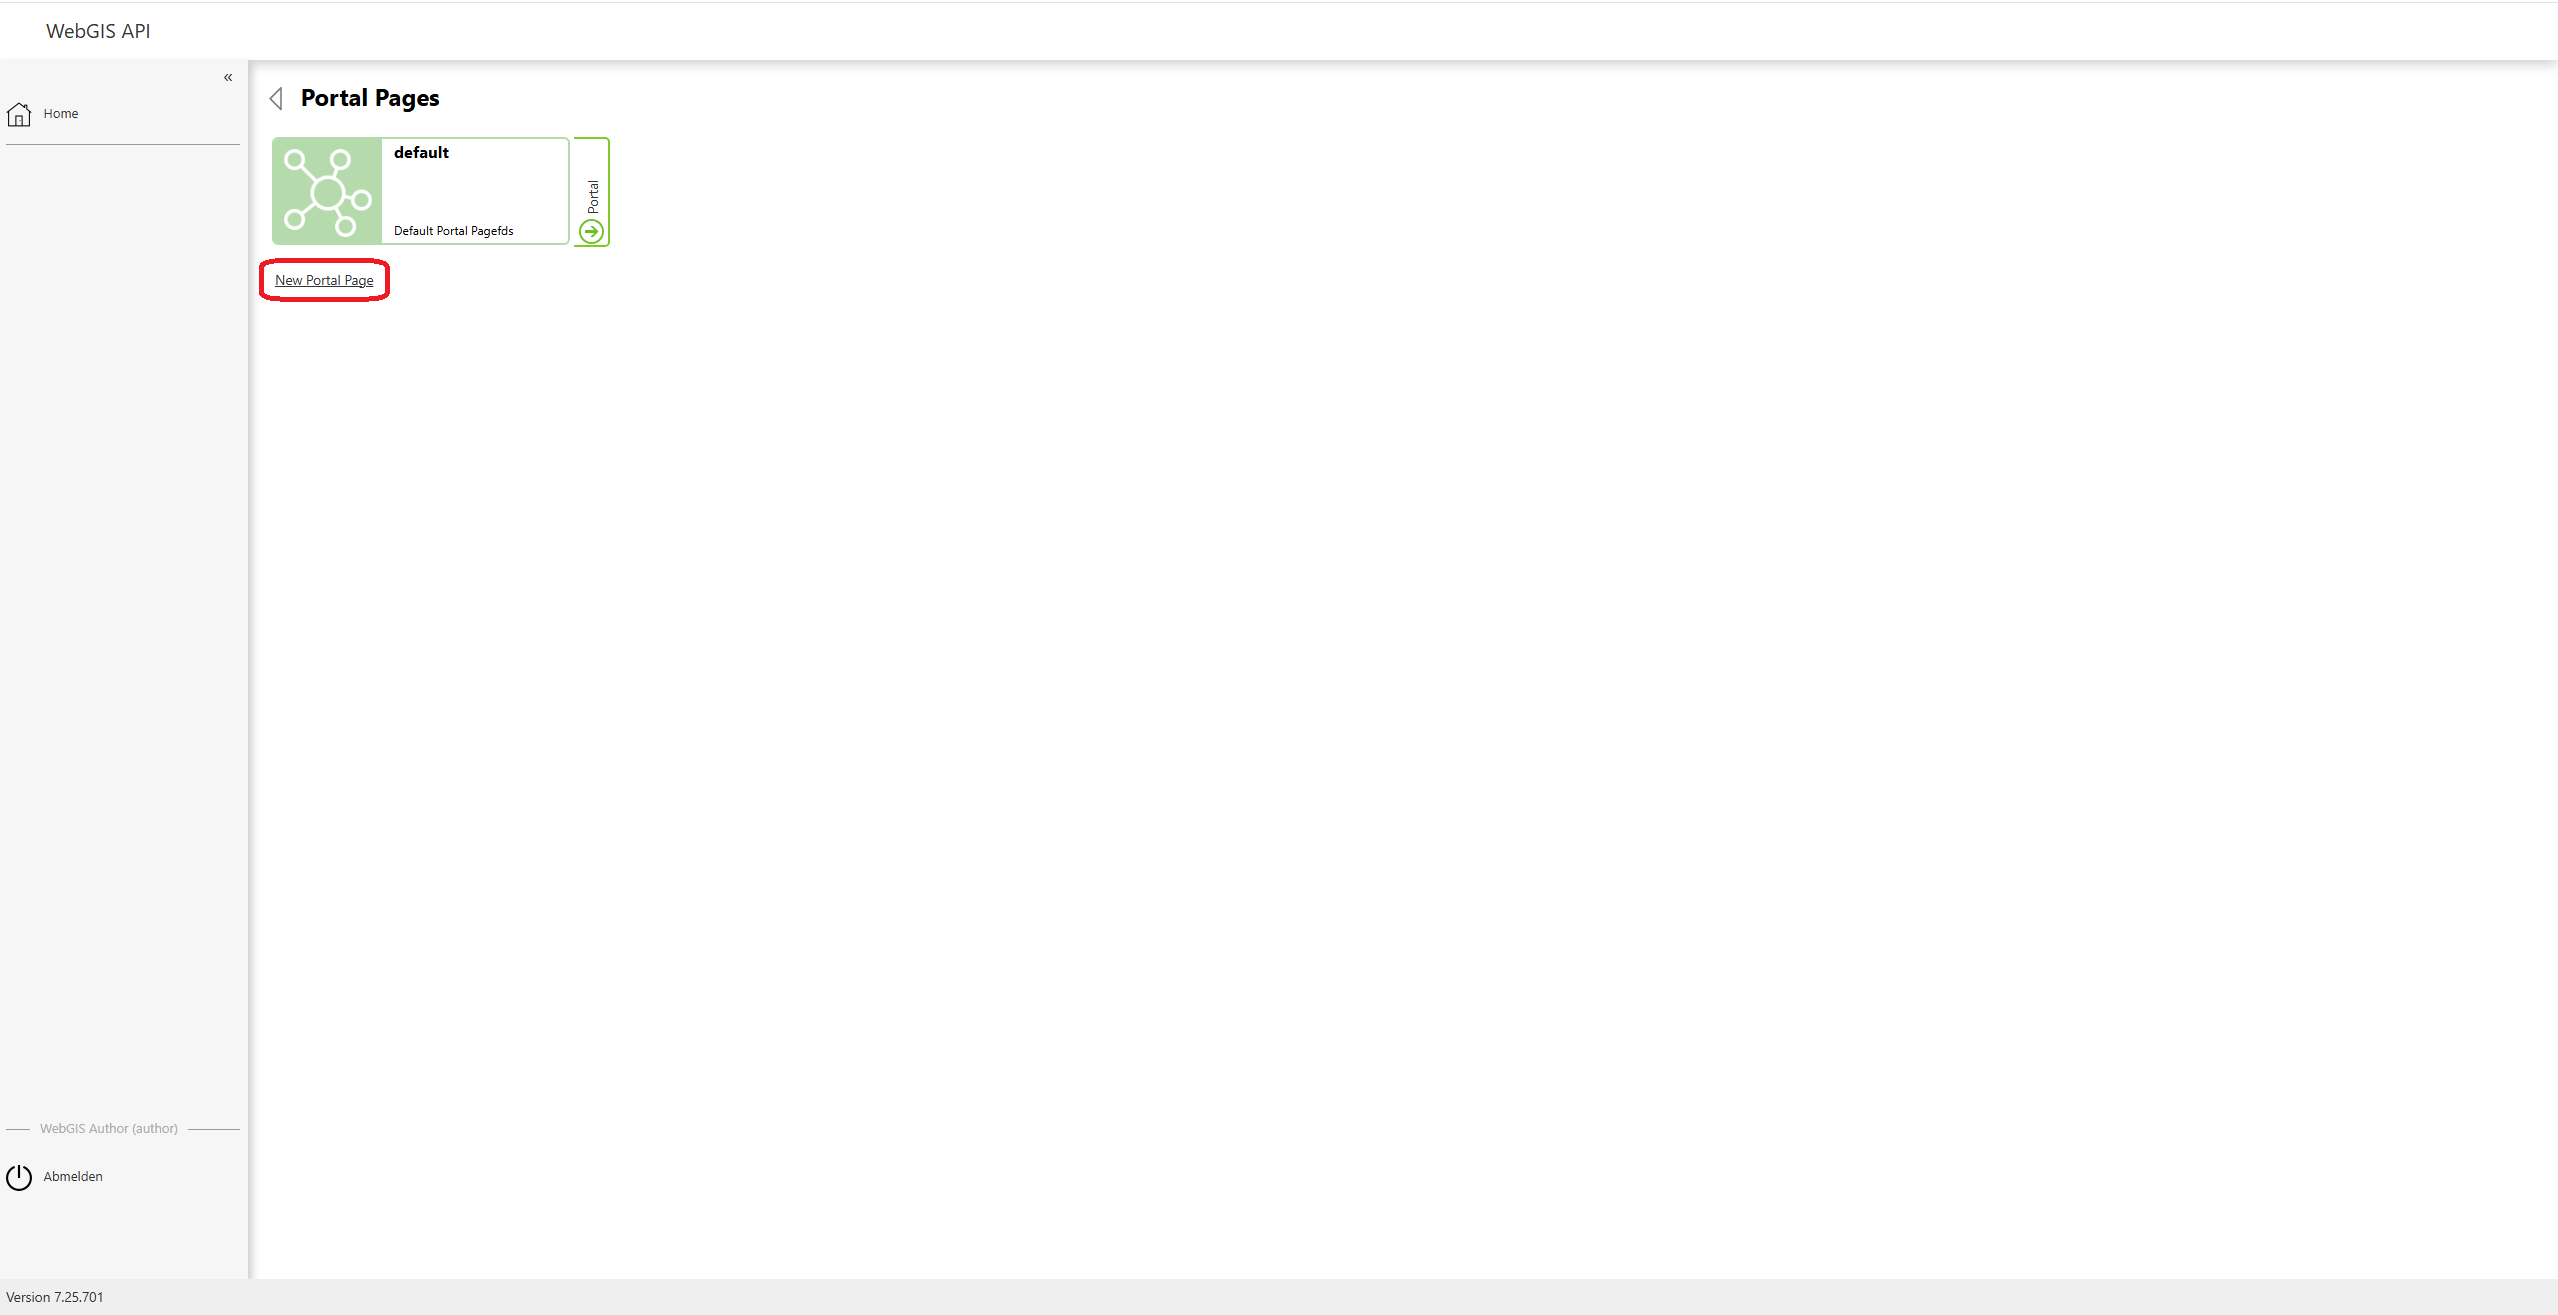
Clicking the “New Portal Page” button takes you to the form in which you can create and configure a new portal page.
General Information
In the General form, you can set the basic information for the new portal page: - ID of the page - Name of the page - Description of the page - Image for the page’s banner
Once you have filled in the fields, click the “Next” button to go to the security settings.
Security Settings
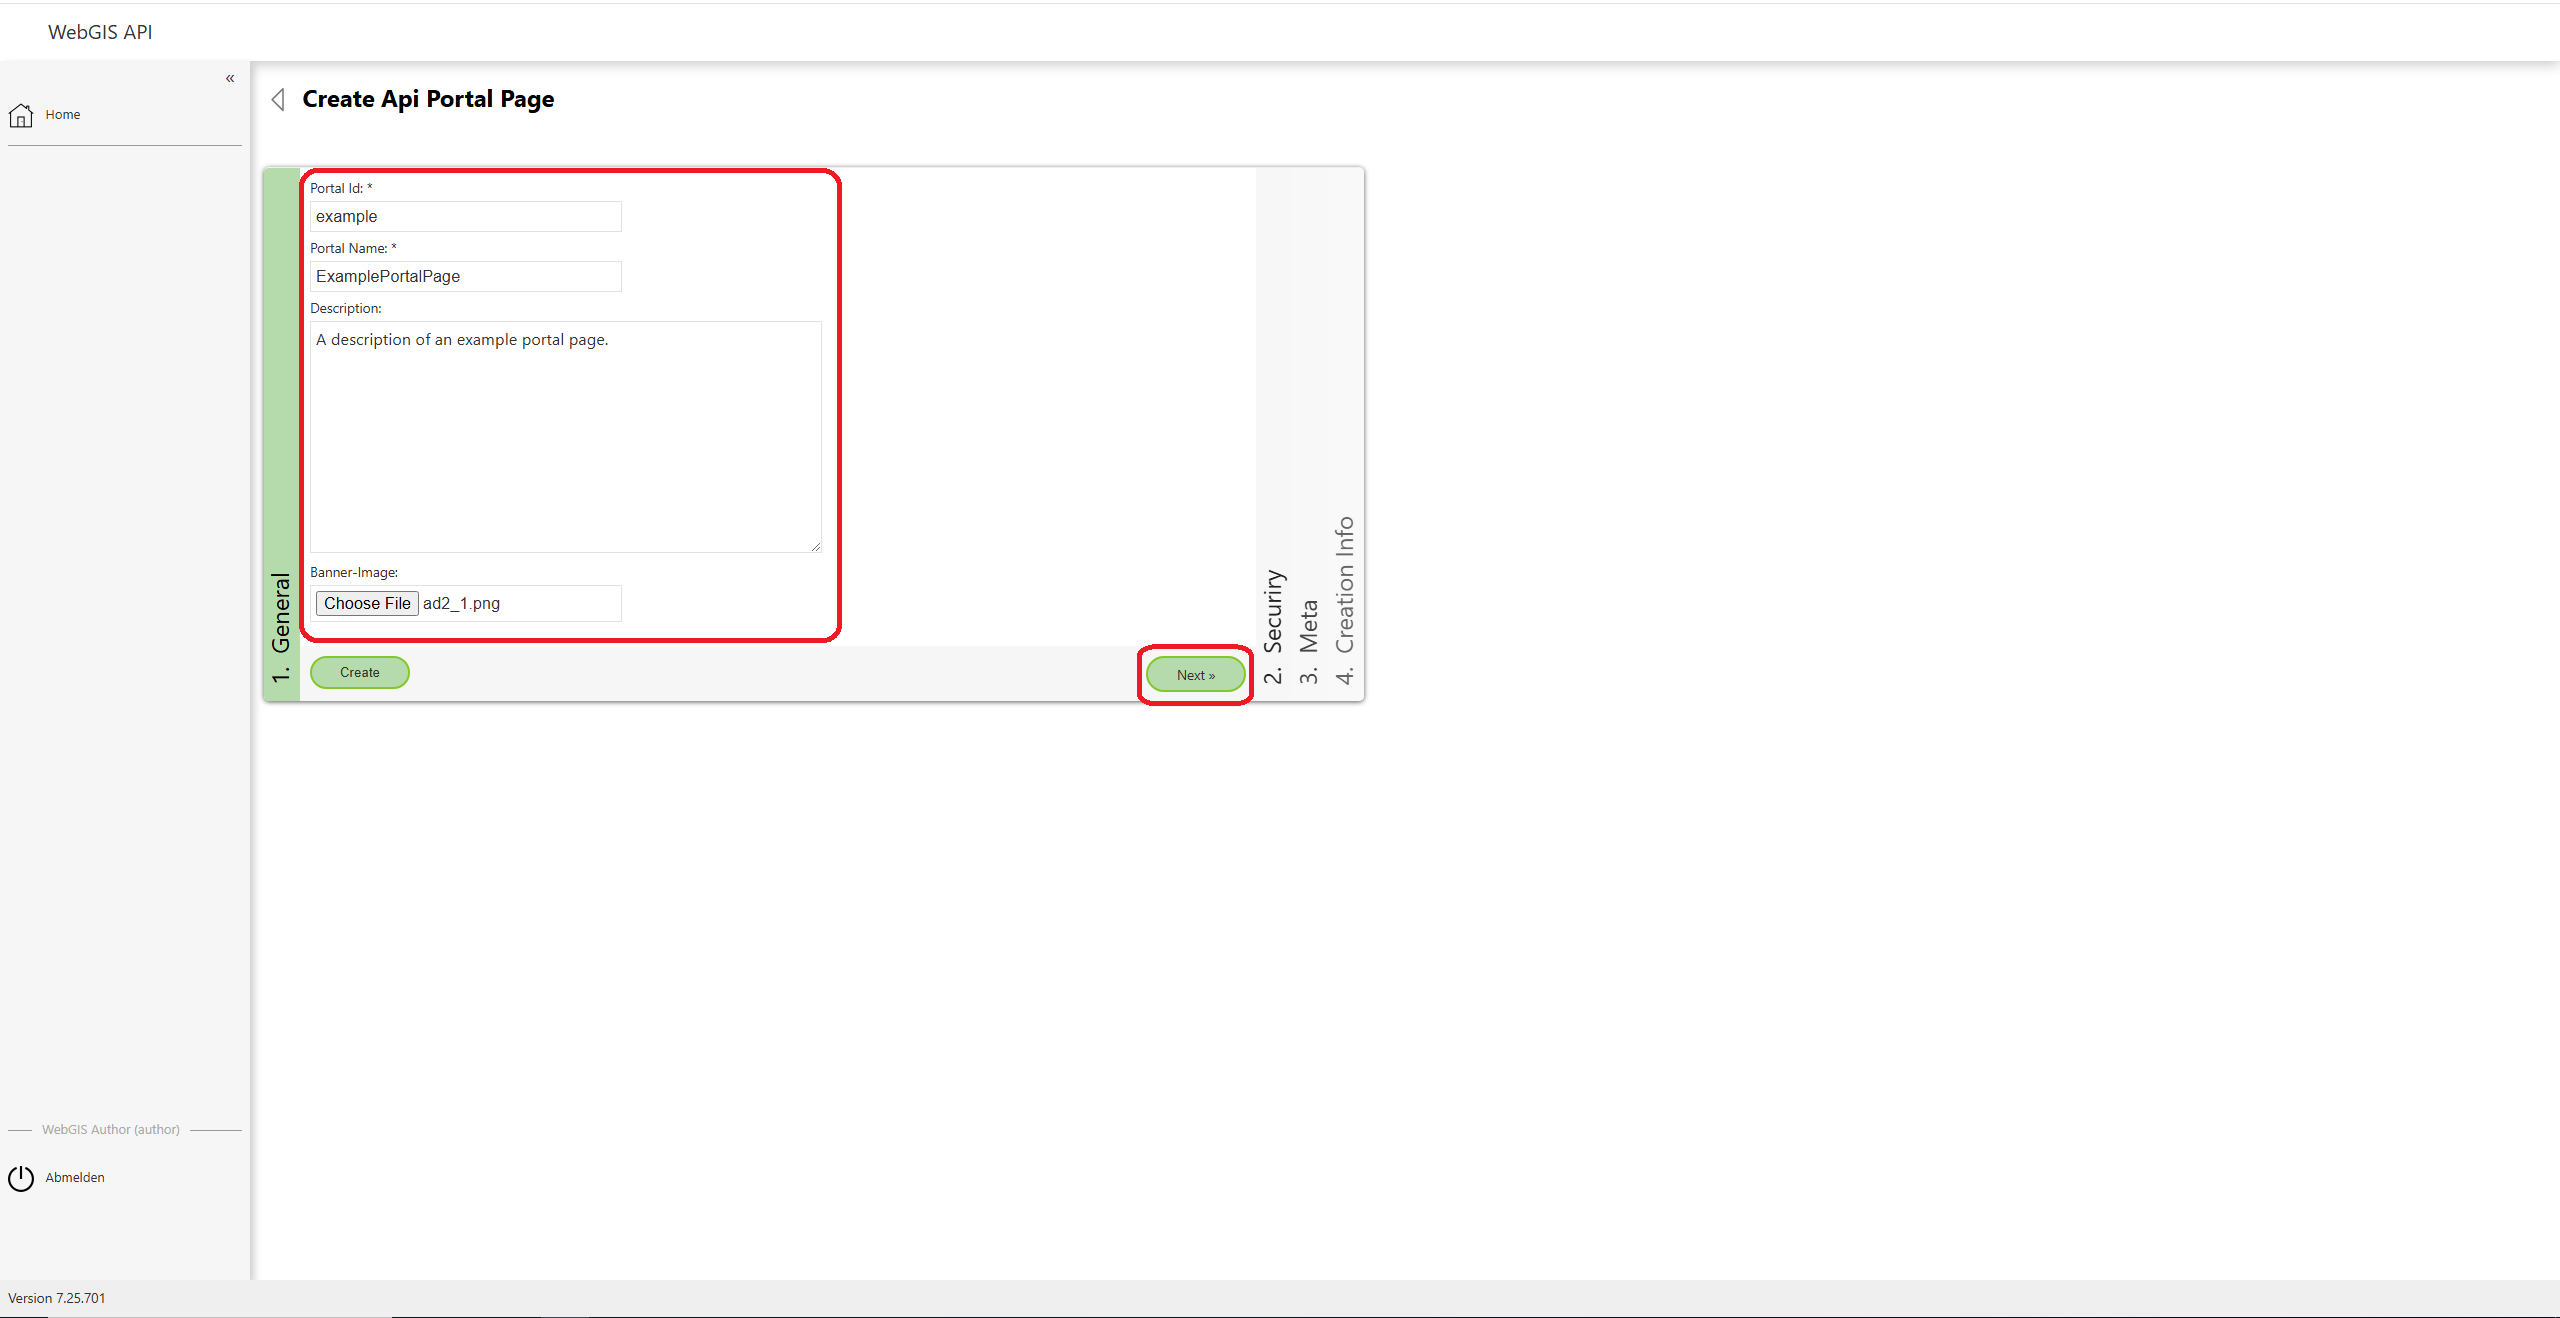
Under the Security settings, you can define the following users and permissions: - Authorized Users: users who have access to the portal page - Authorized (Map) Authors: users who are allowed to add map content - Authorized (Content) Authors: users who are allowed to add content
Each of these users can be added as a Subscriber or Instance. Click Next to go to the HTML meta tags.
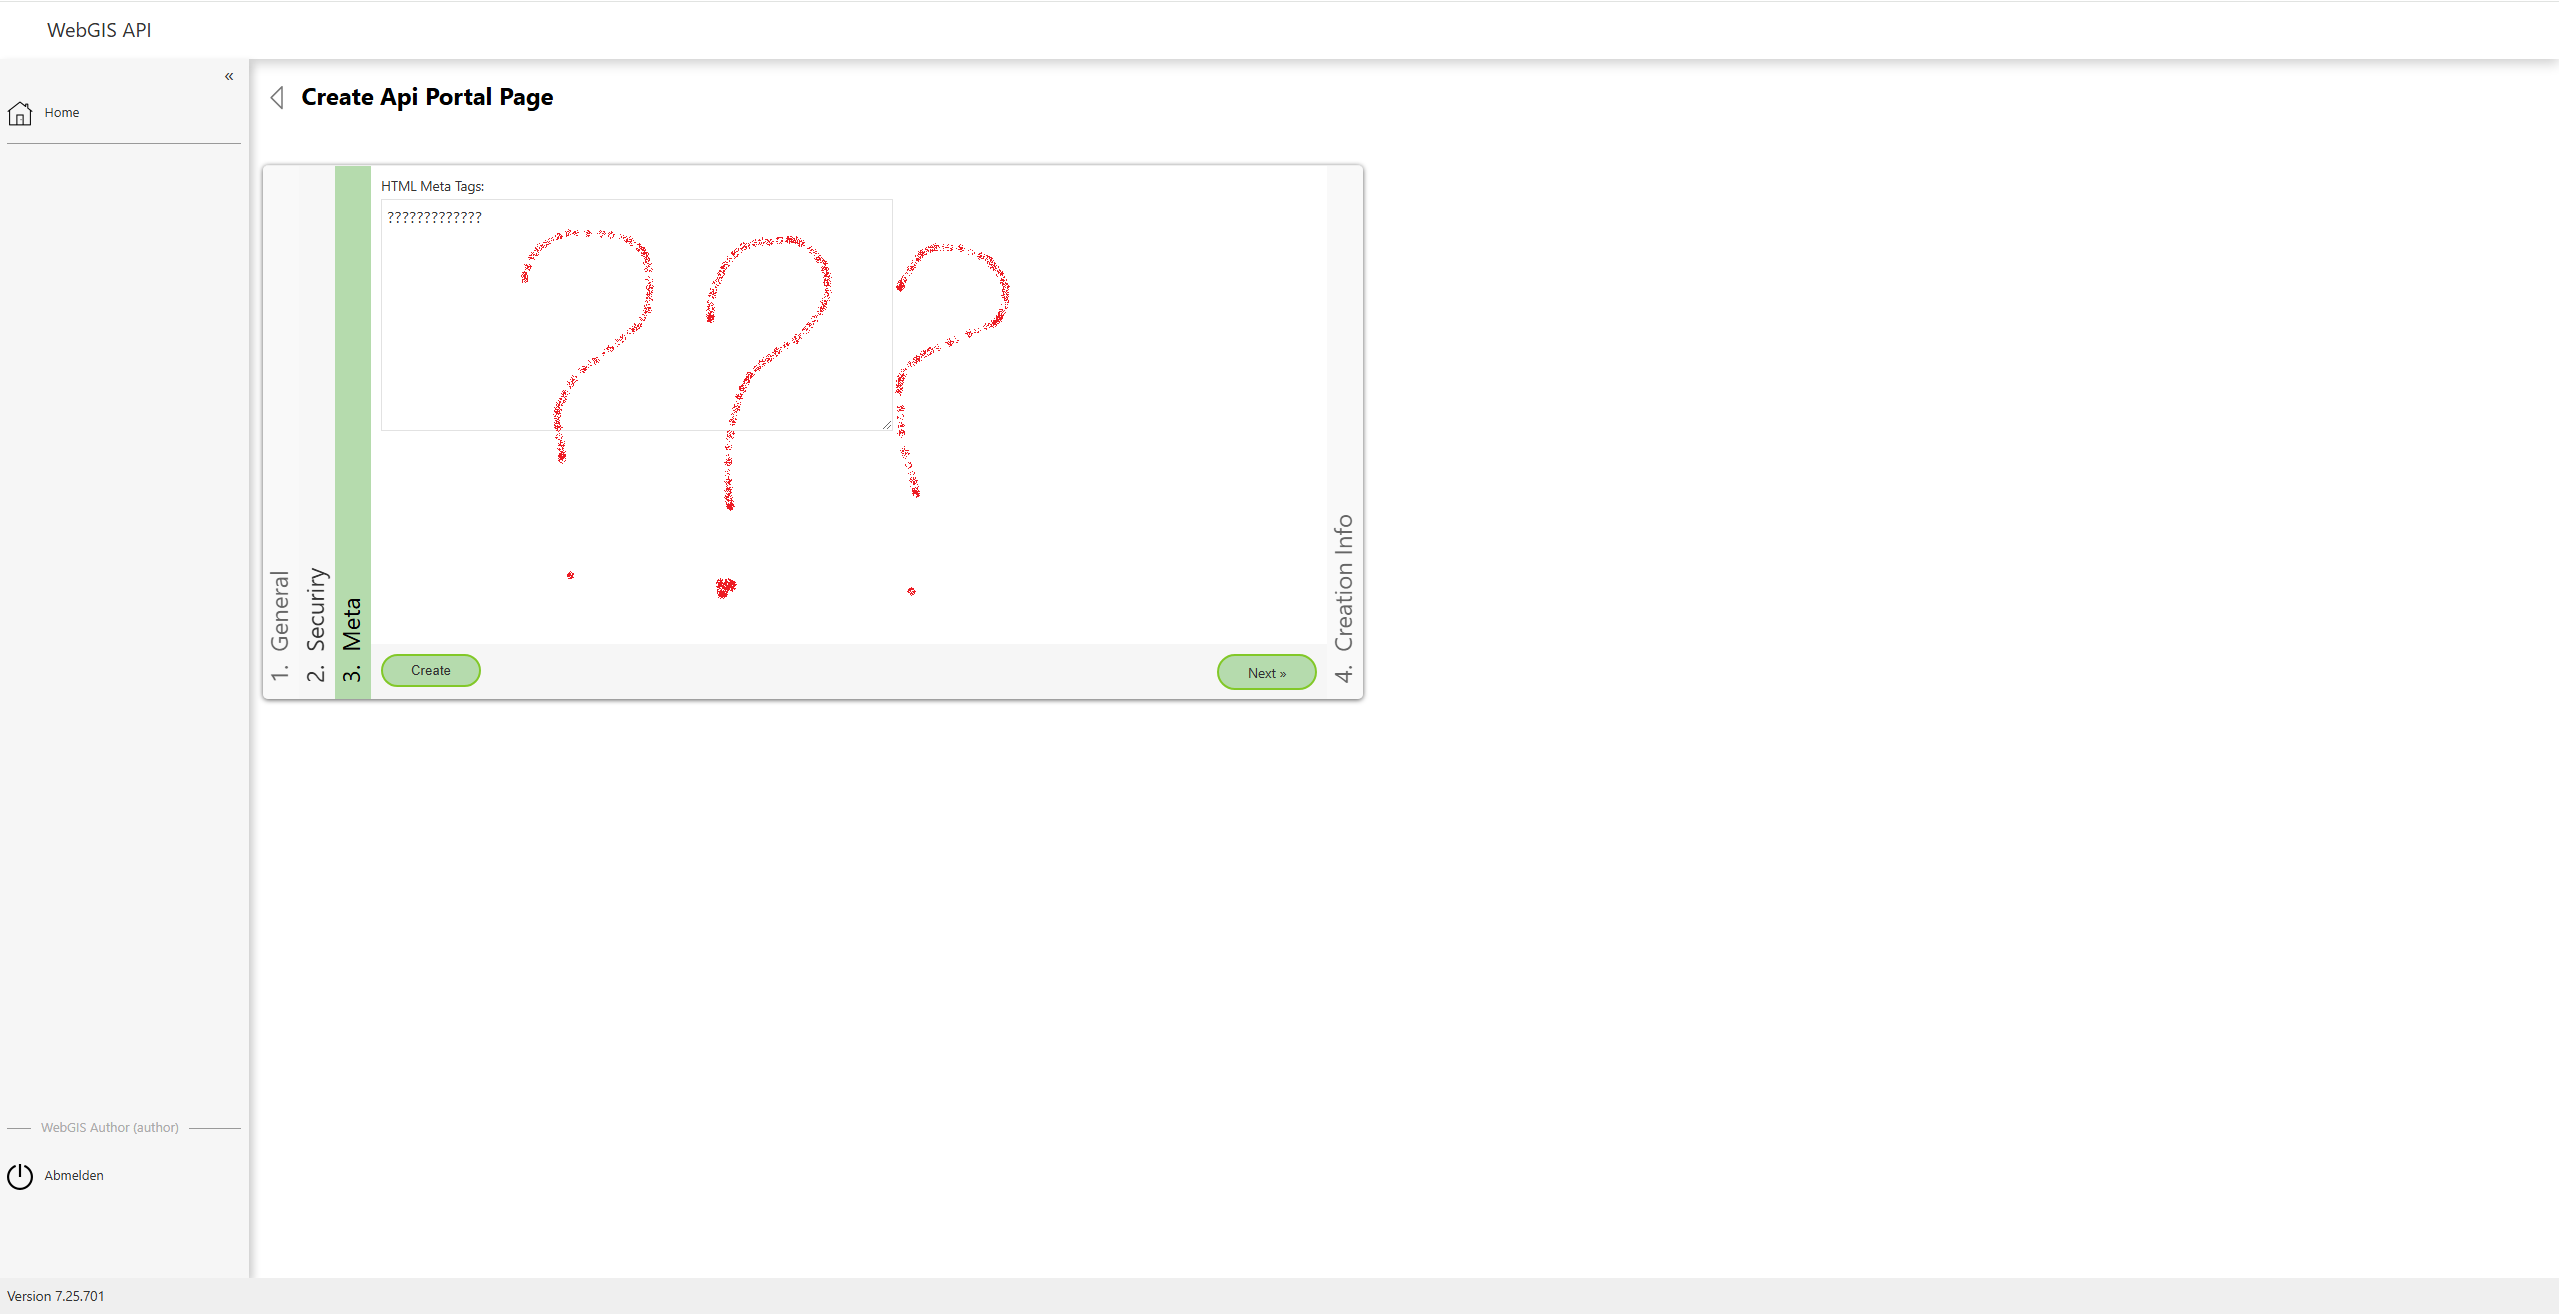
HTML Meta Tags
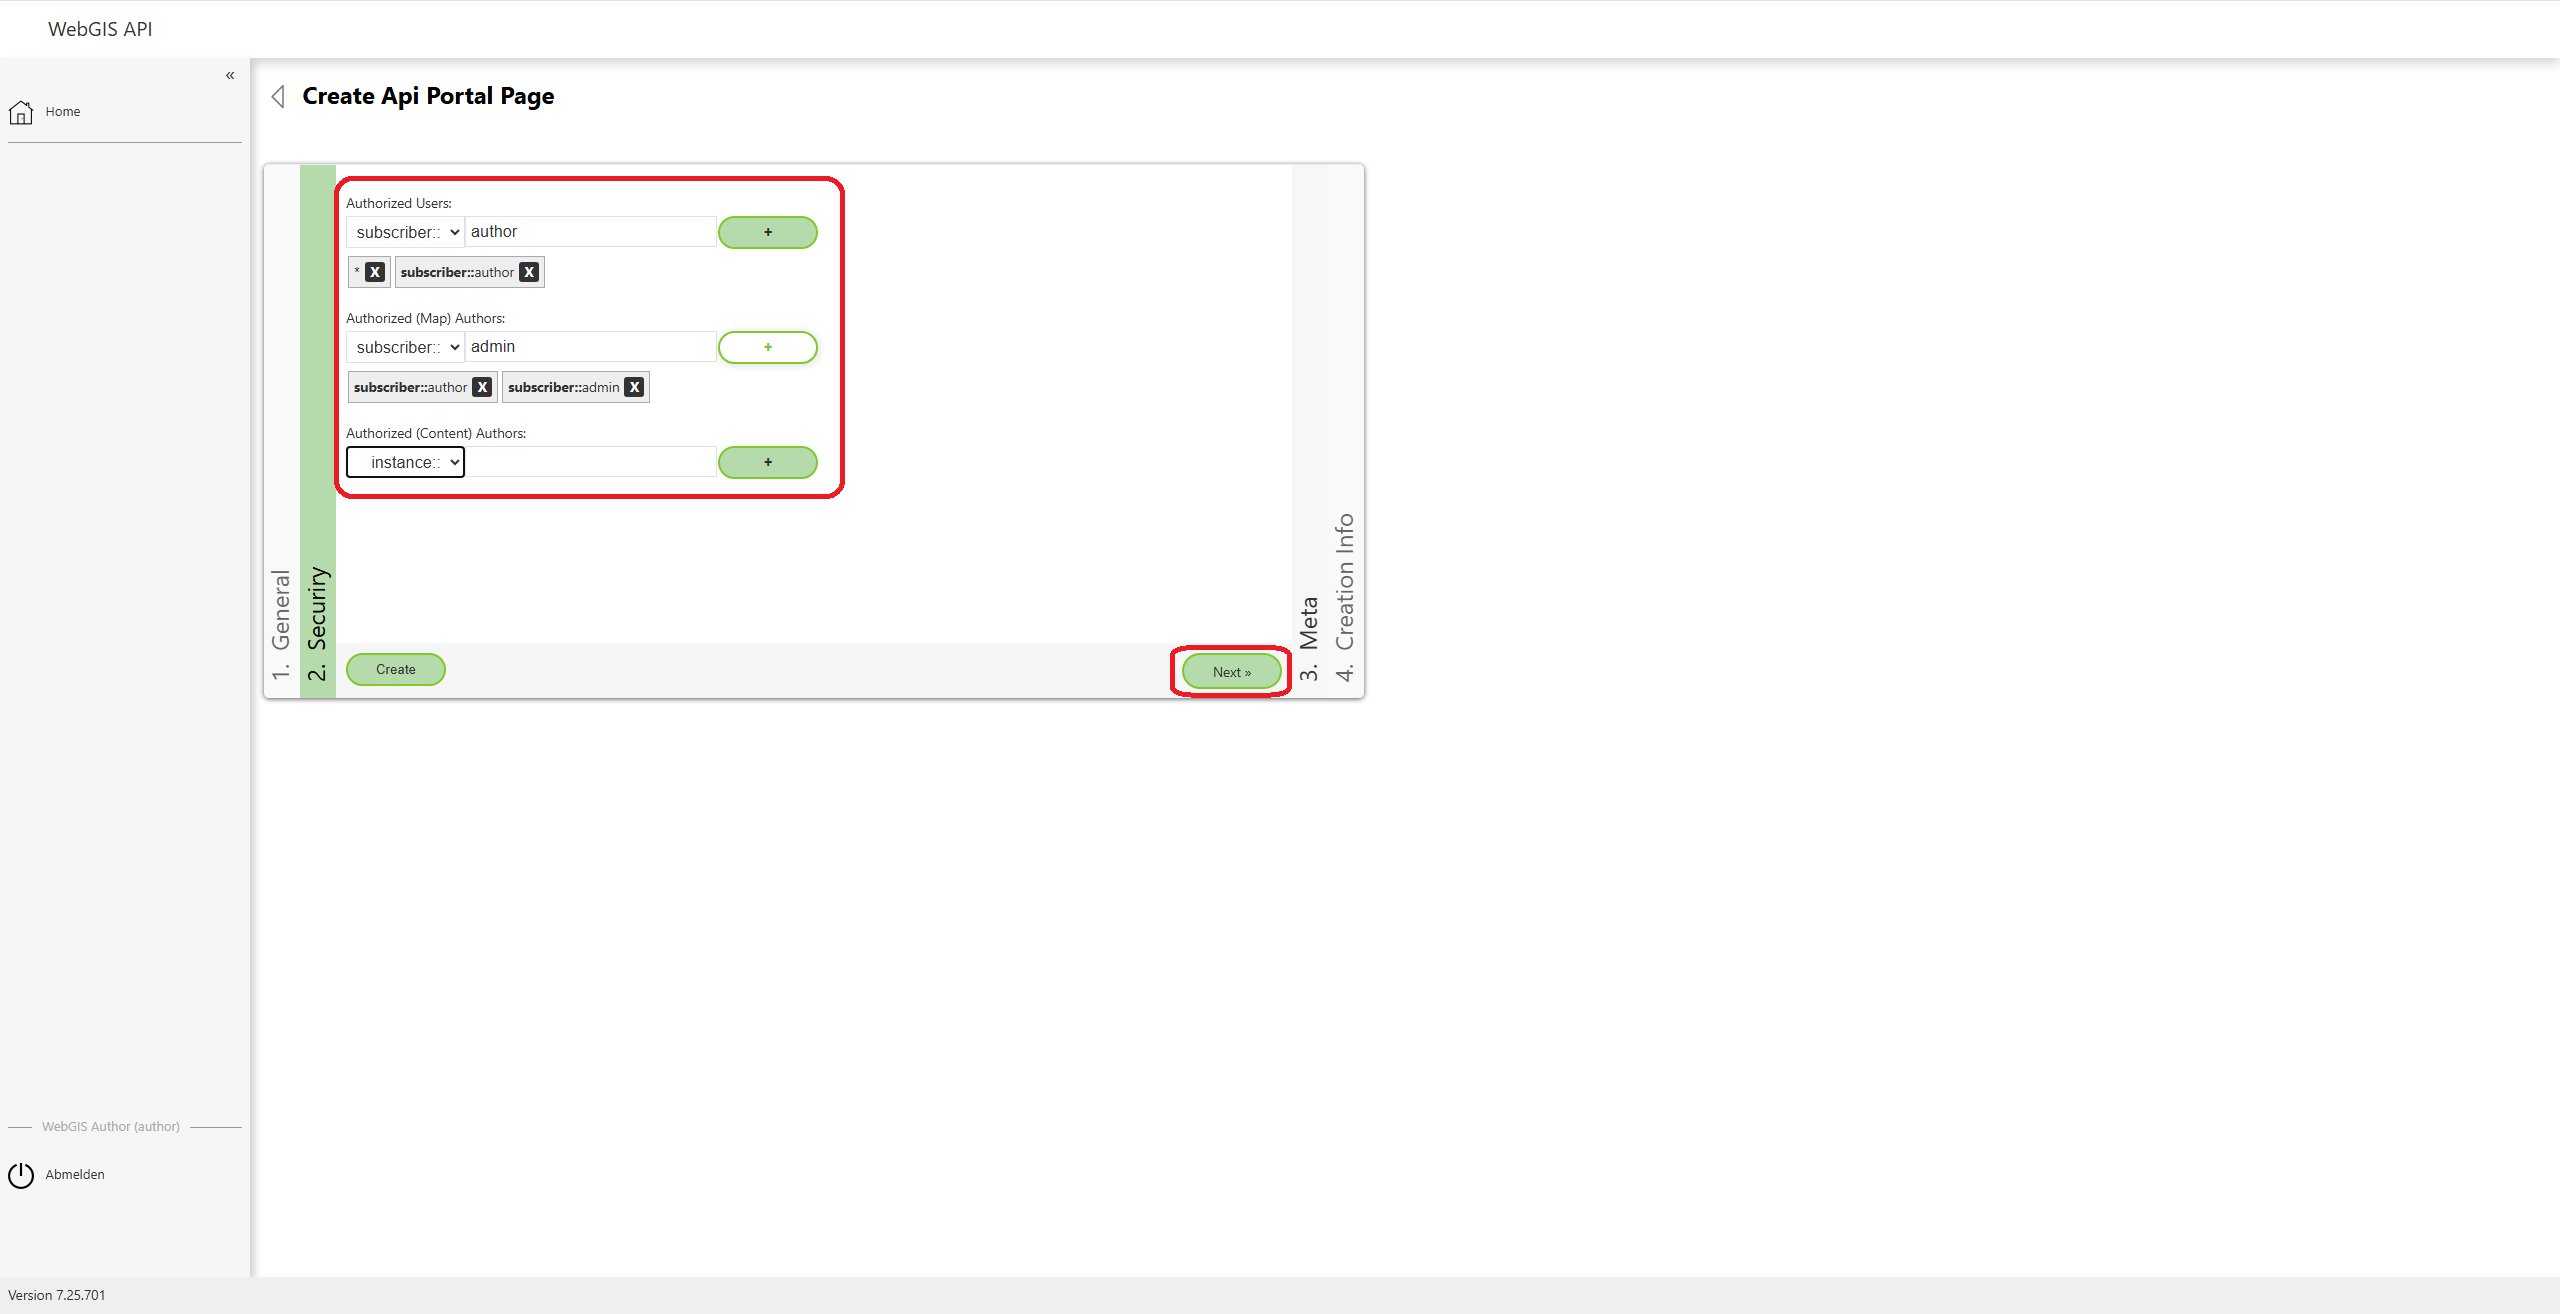
HTML meta tags for the portal page can be configured here. (Details on meta tags to follow.)
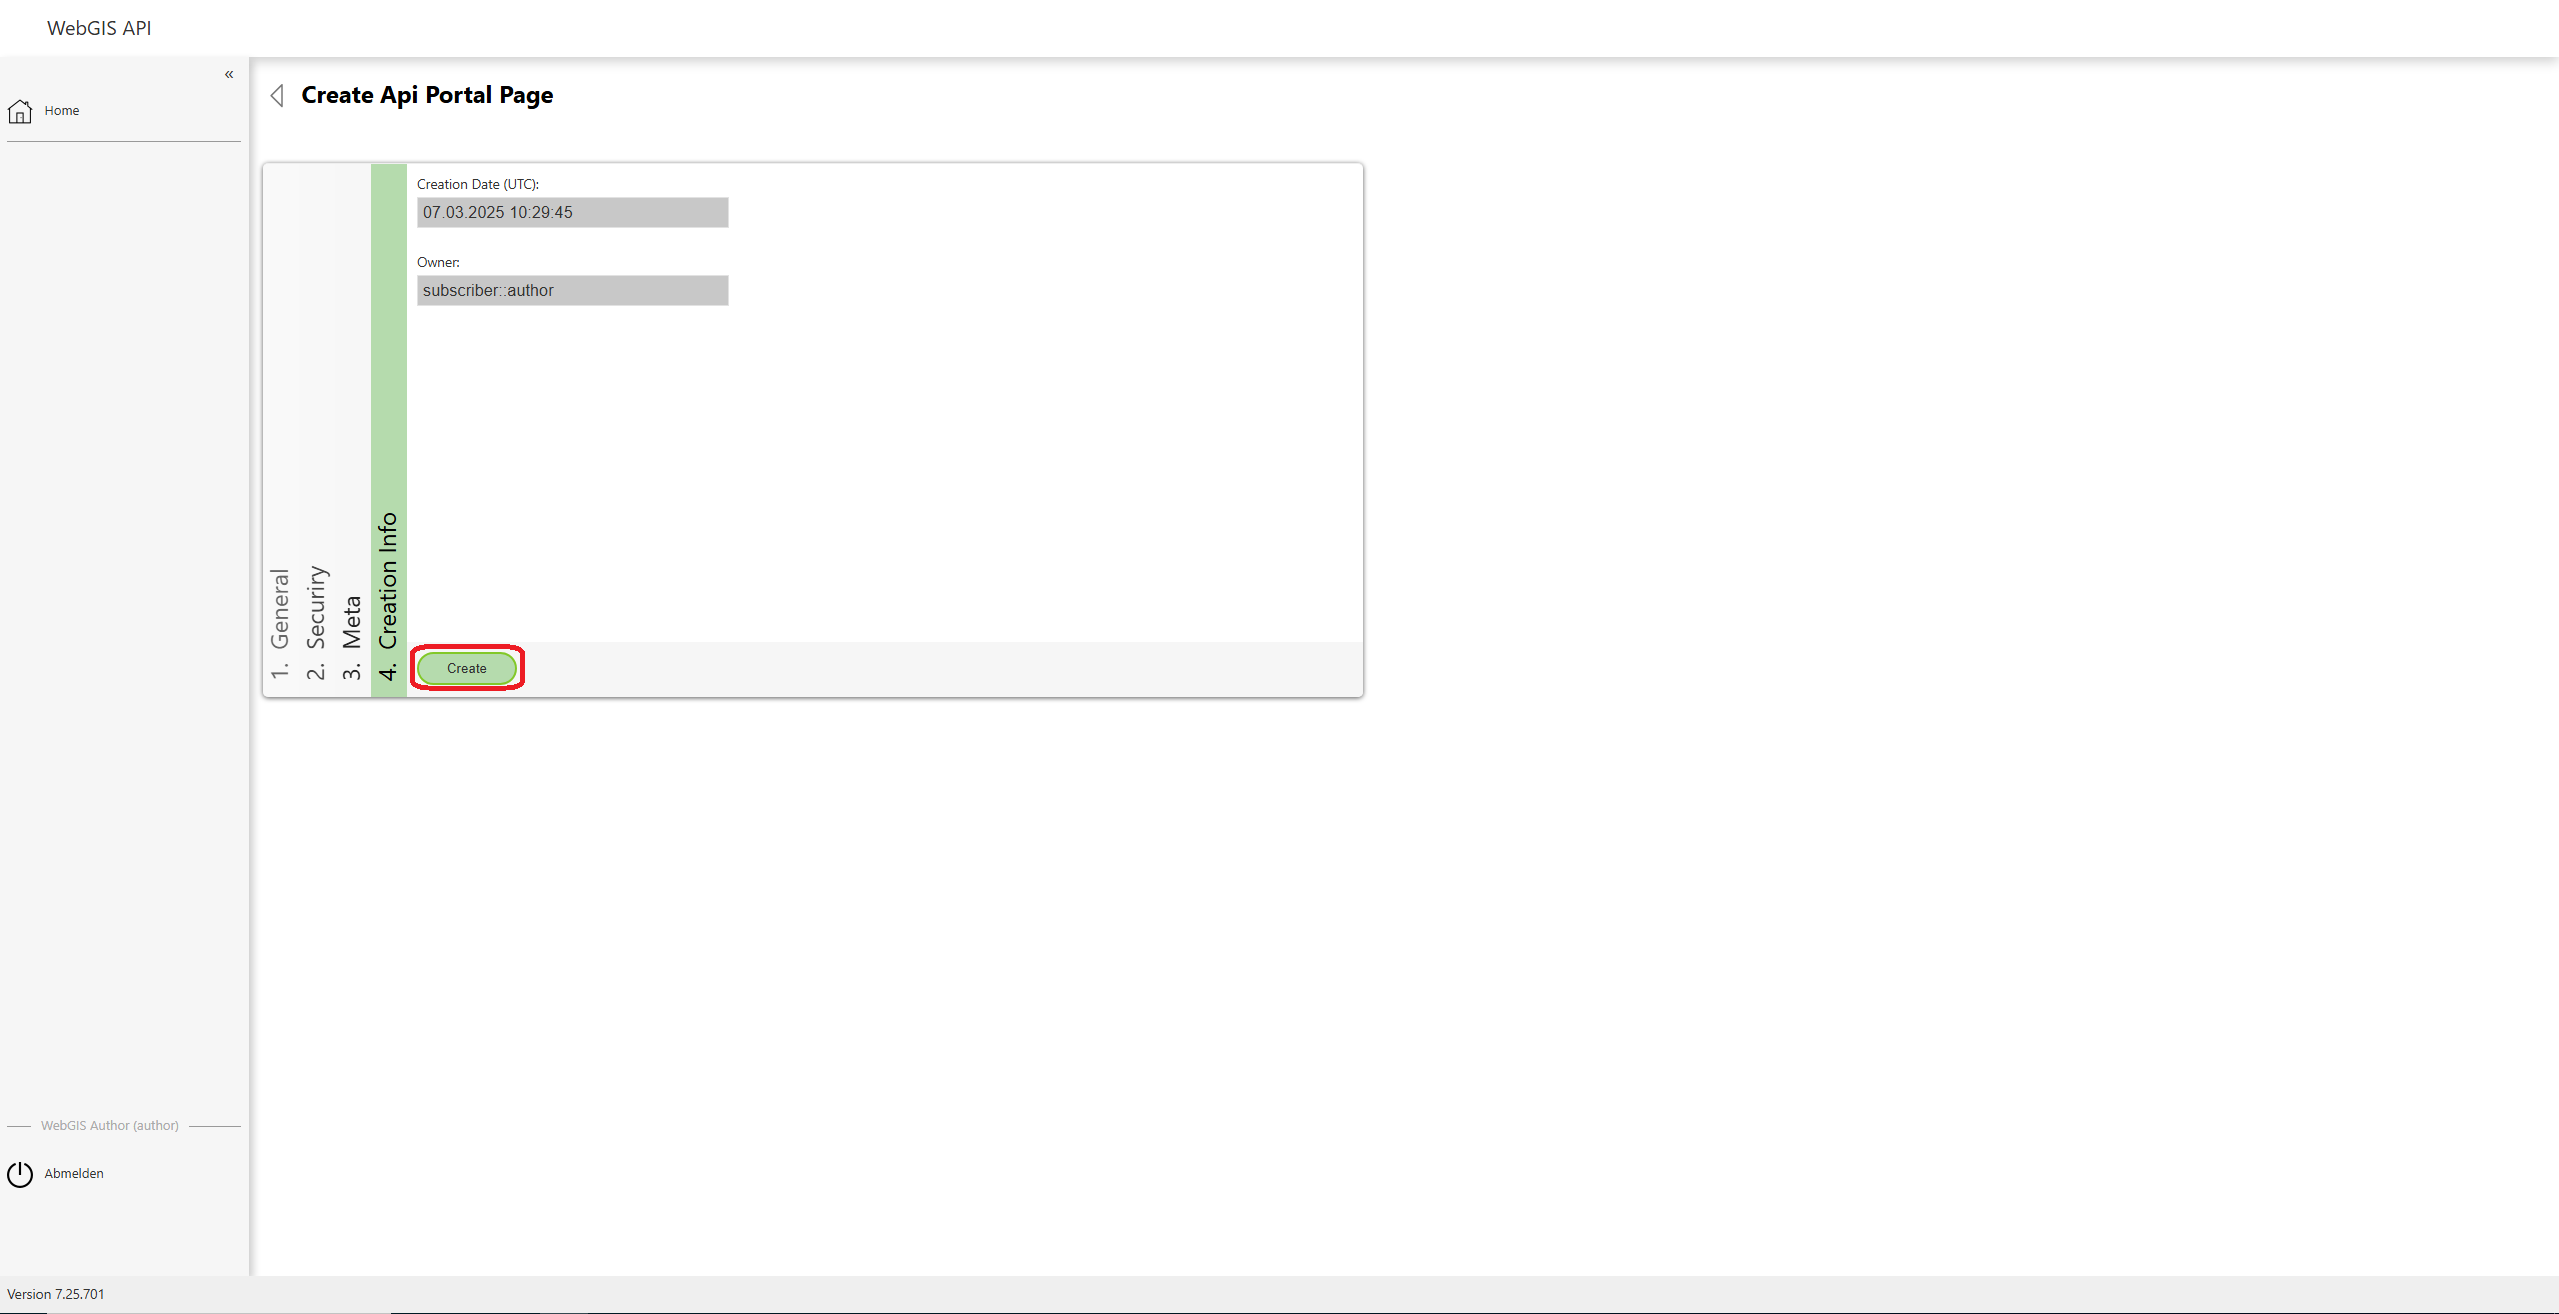
Creation Information
In the Creation Infos section, you see the date and time the portal page was created, as well as the page’s owner. This information is for display only and cannot be changed.
Click the “Create” button to save the new portal page and complete the creation process.
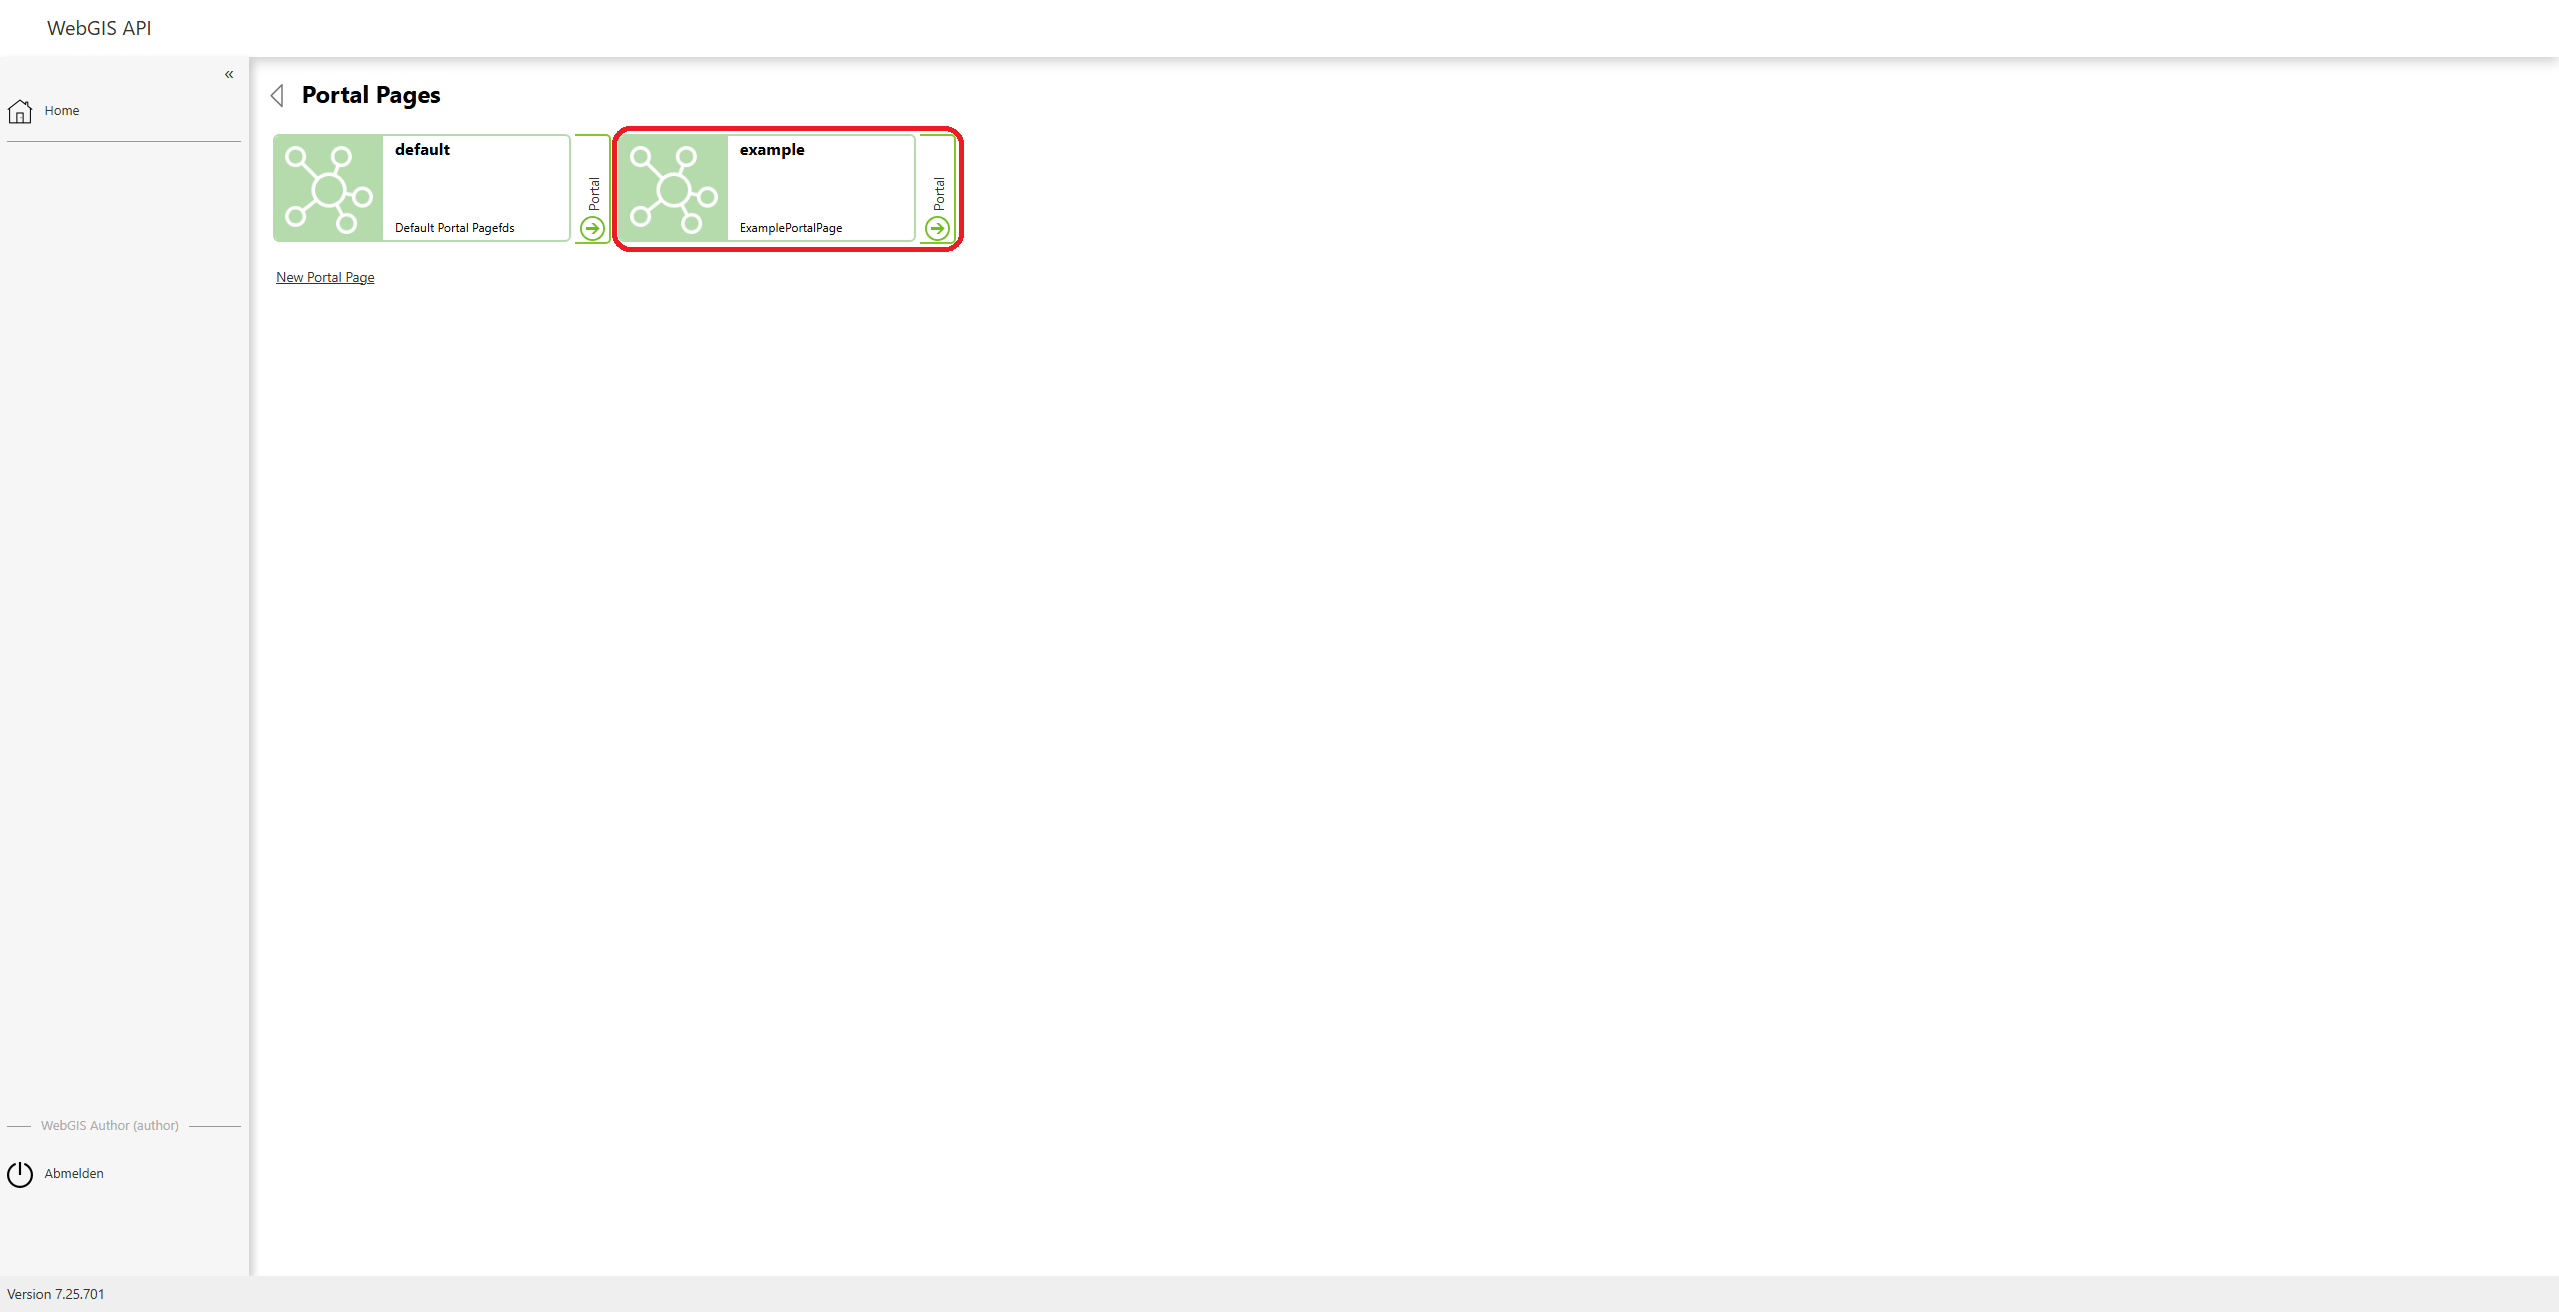
Created Portal Page
After the portal page is created, it is shown in the overview. Your page has now been created successfully.
Editing a Portal Page
To edit an already created portal page, simply click on the desired page in the overview. You can change or supplement the fields and then click the “Update” button to save the changes.